Upload and Create VCE images
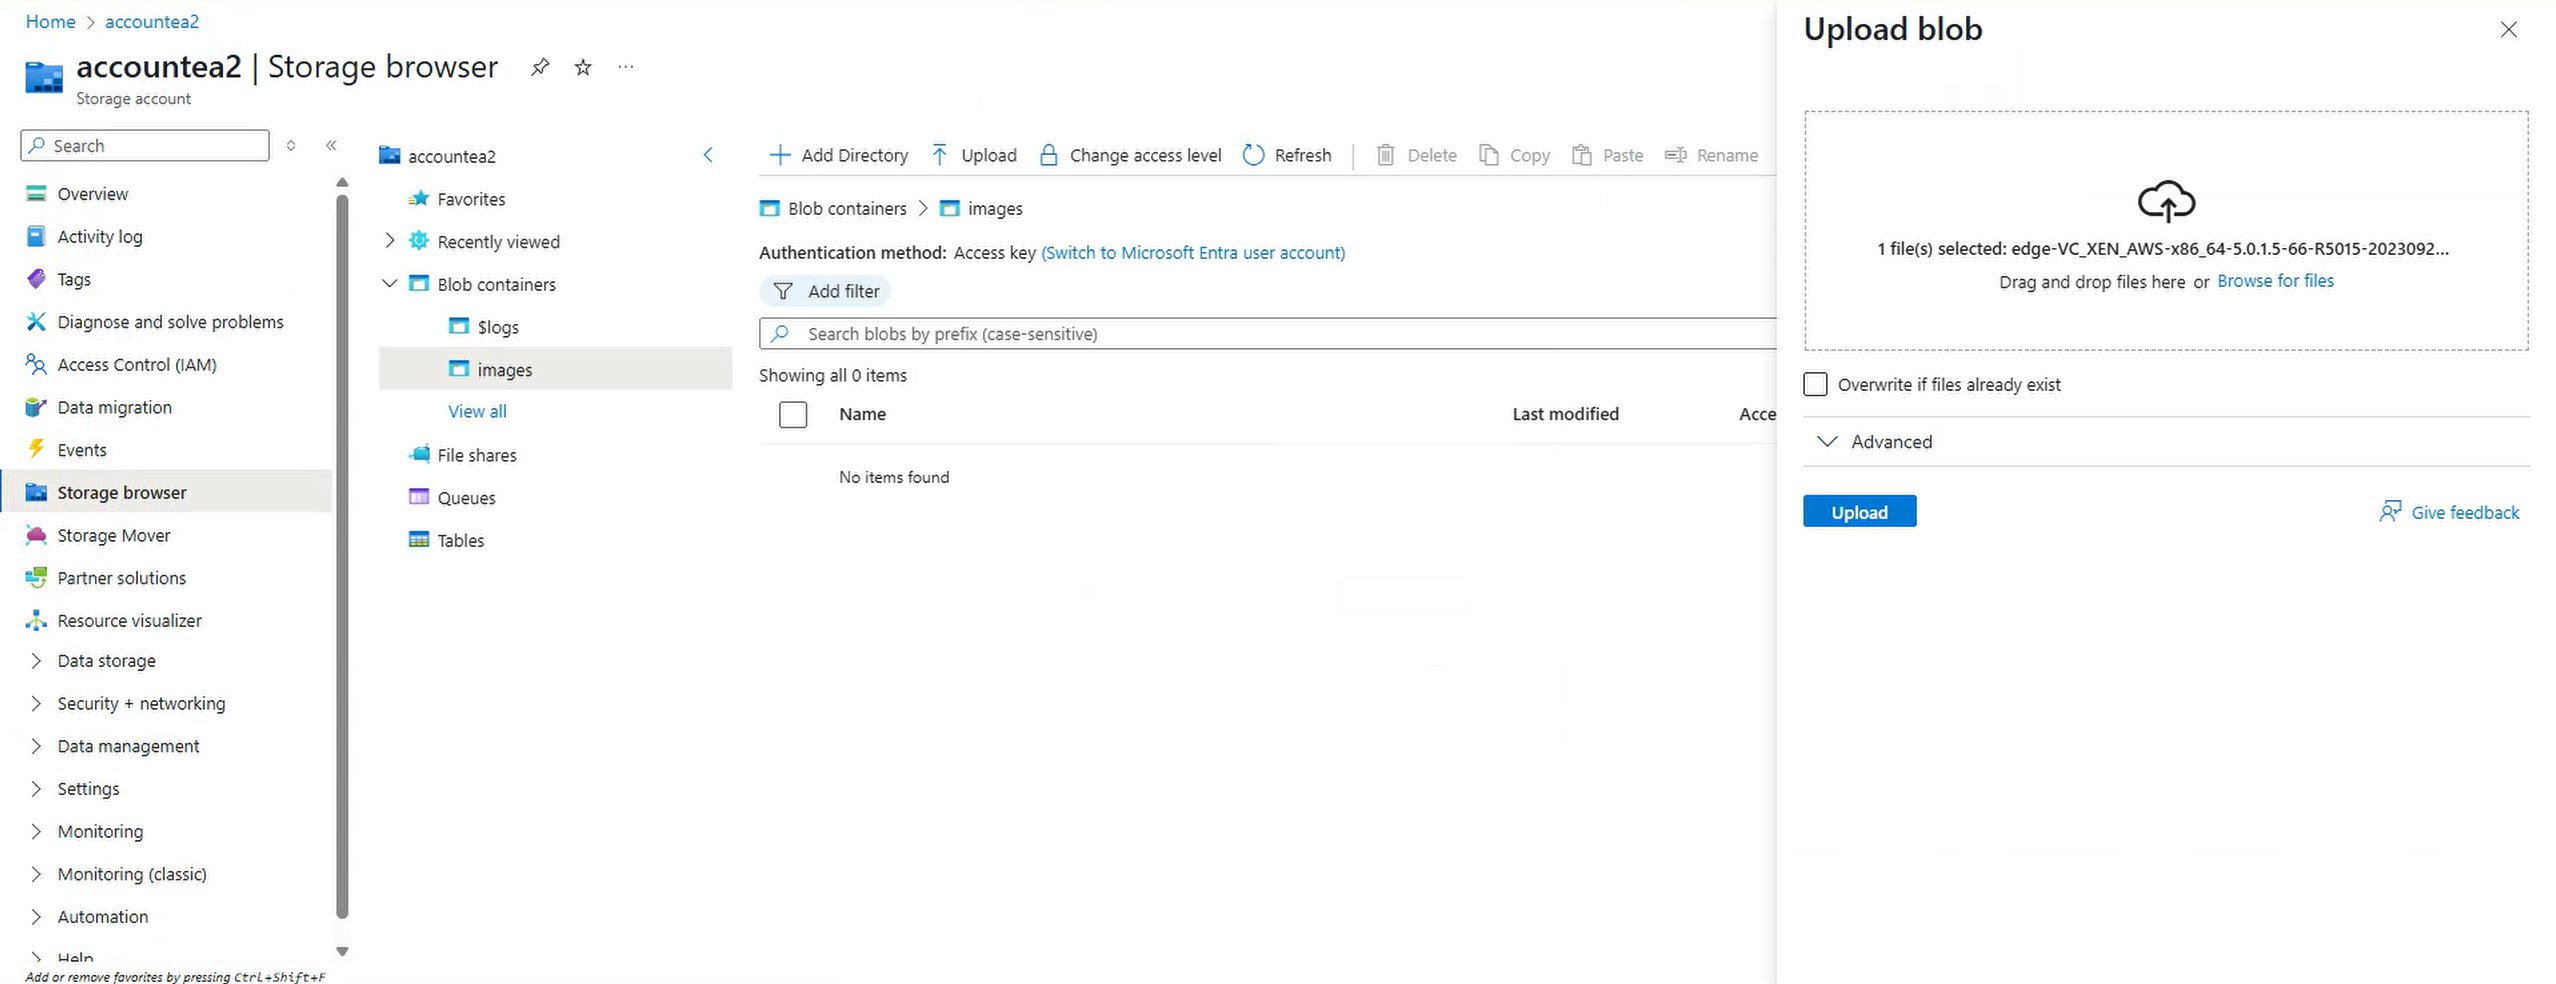
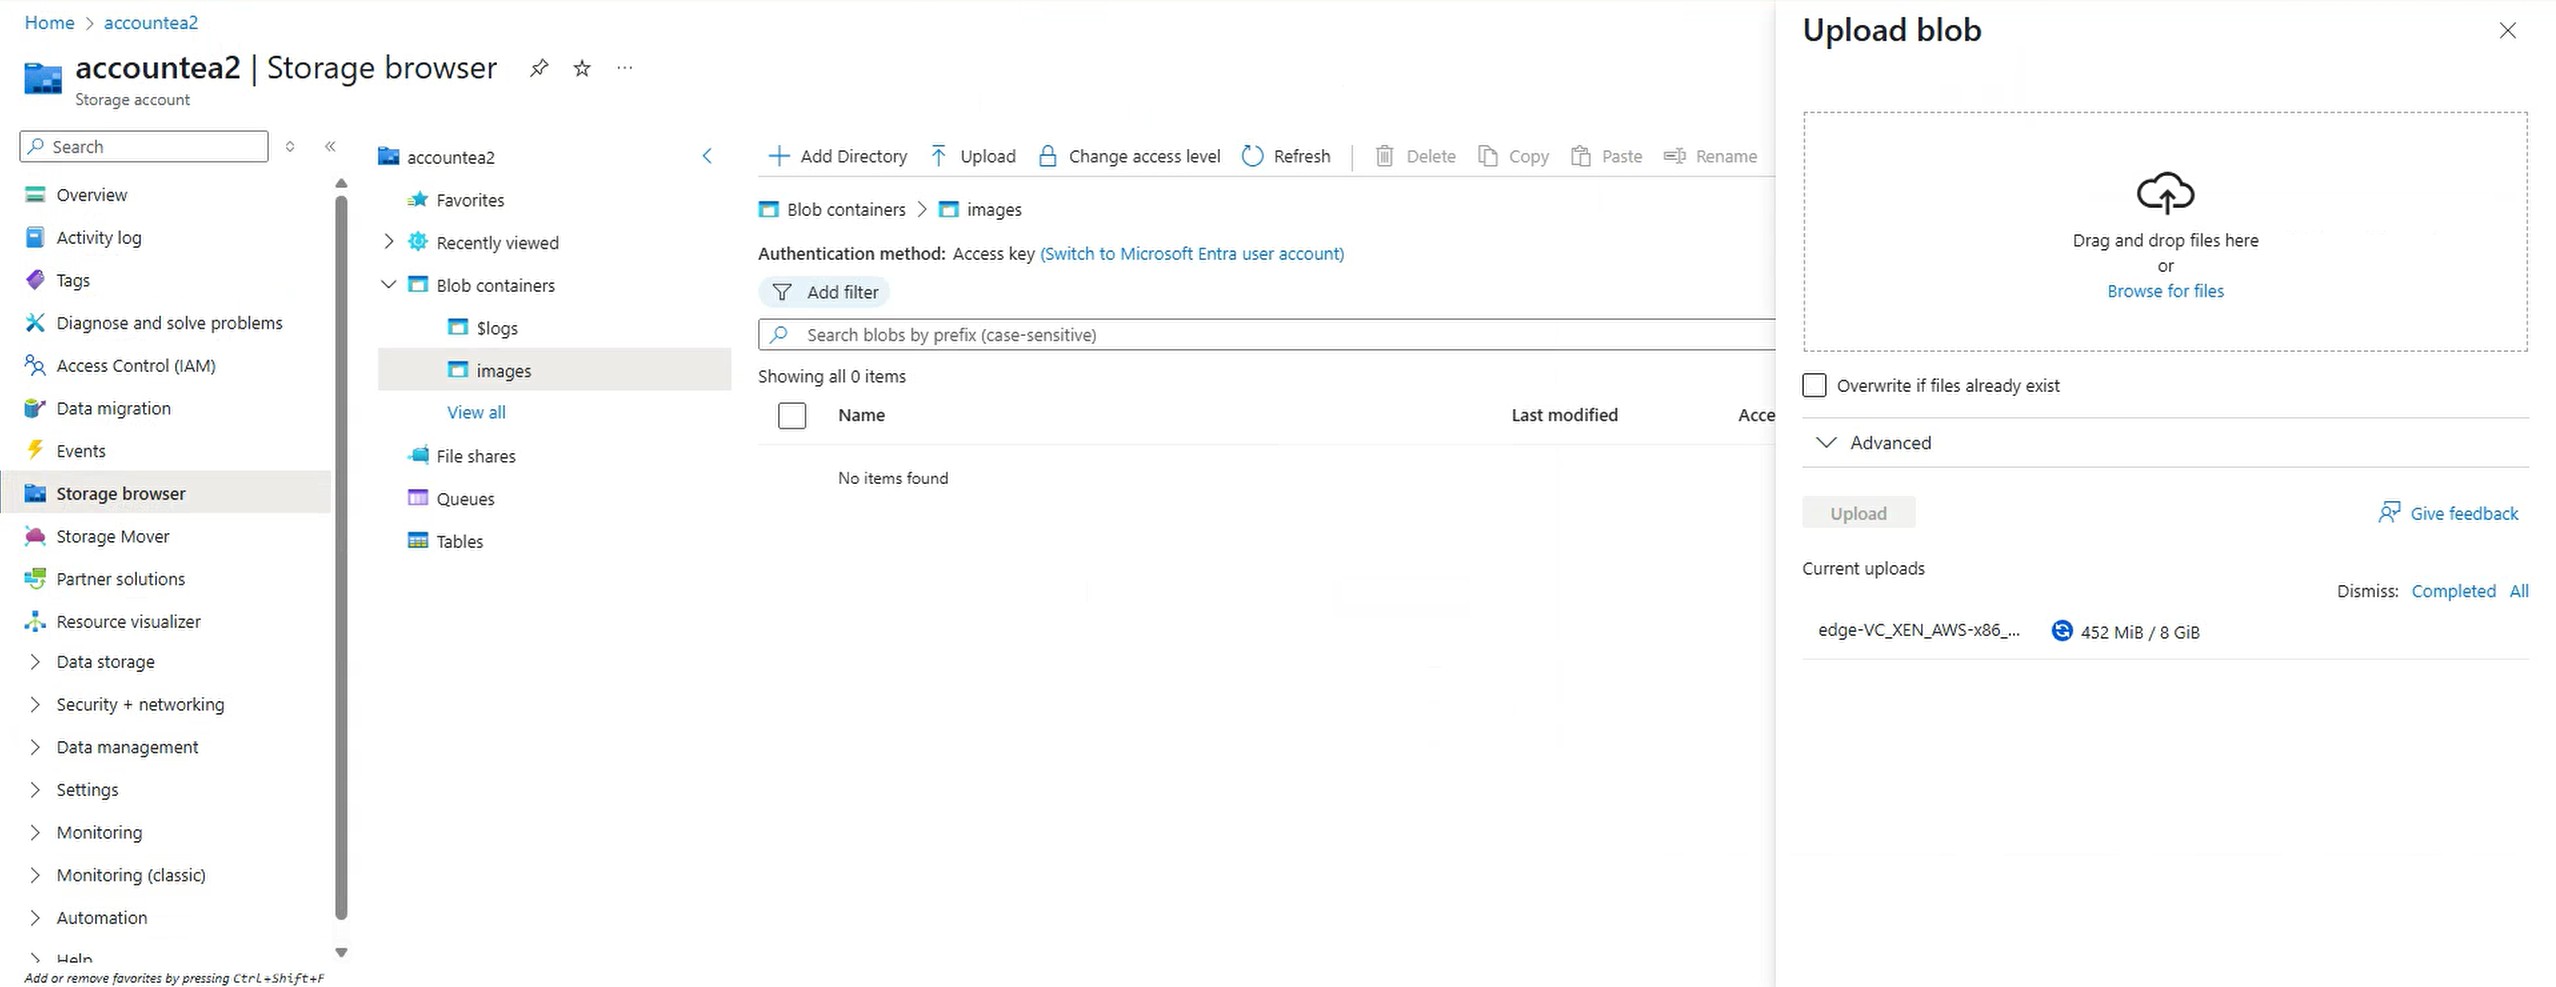
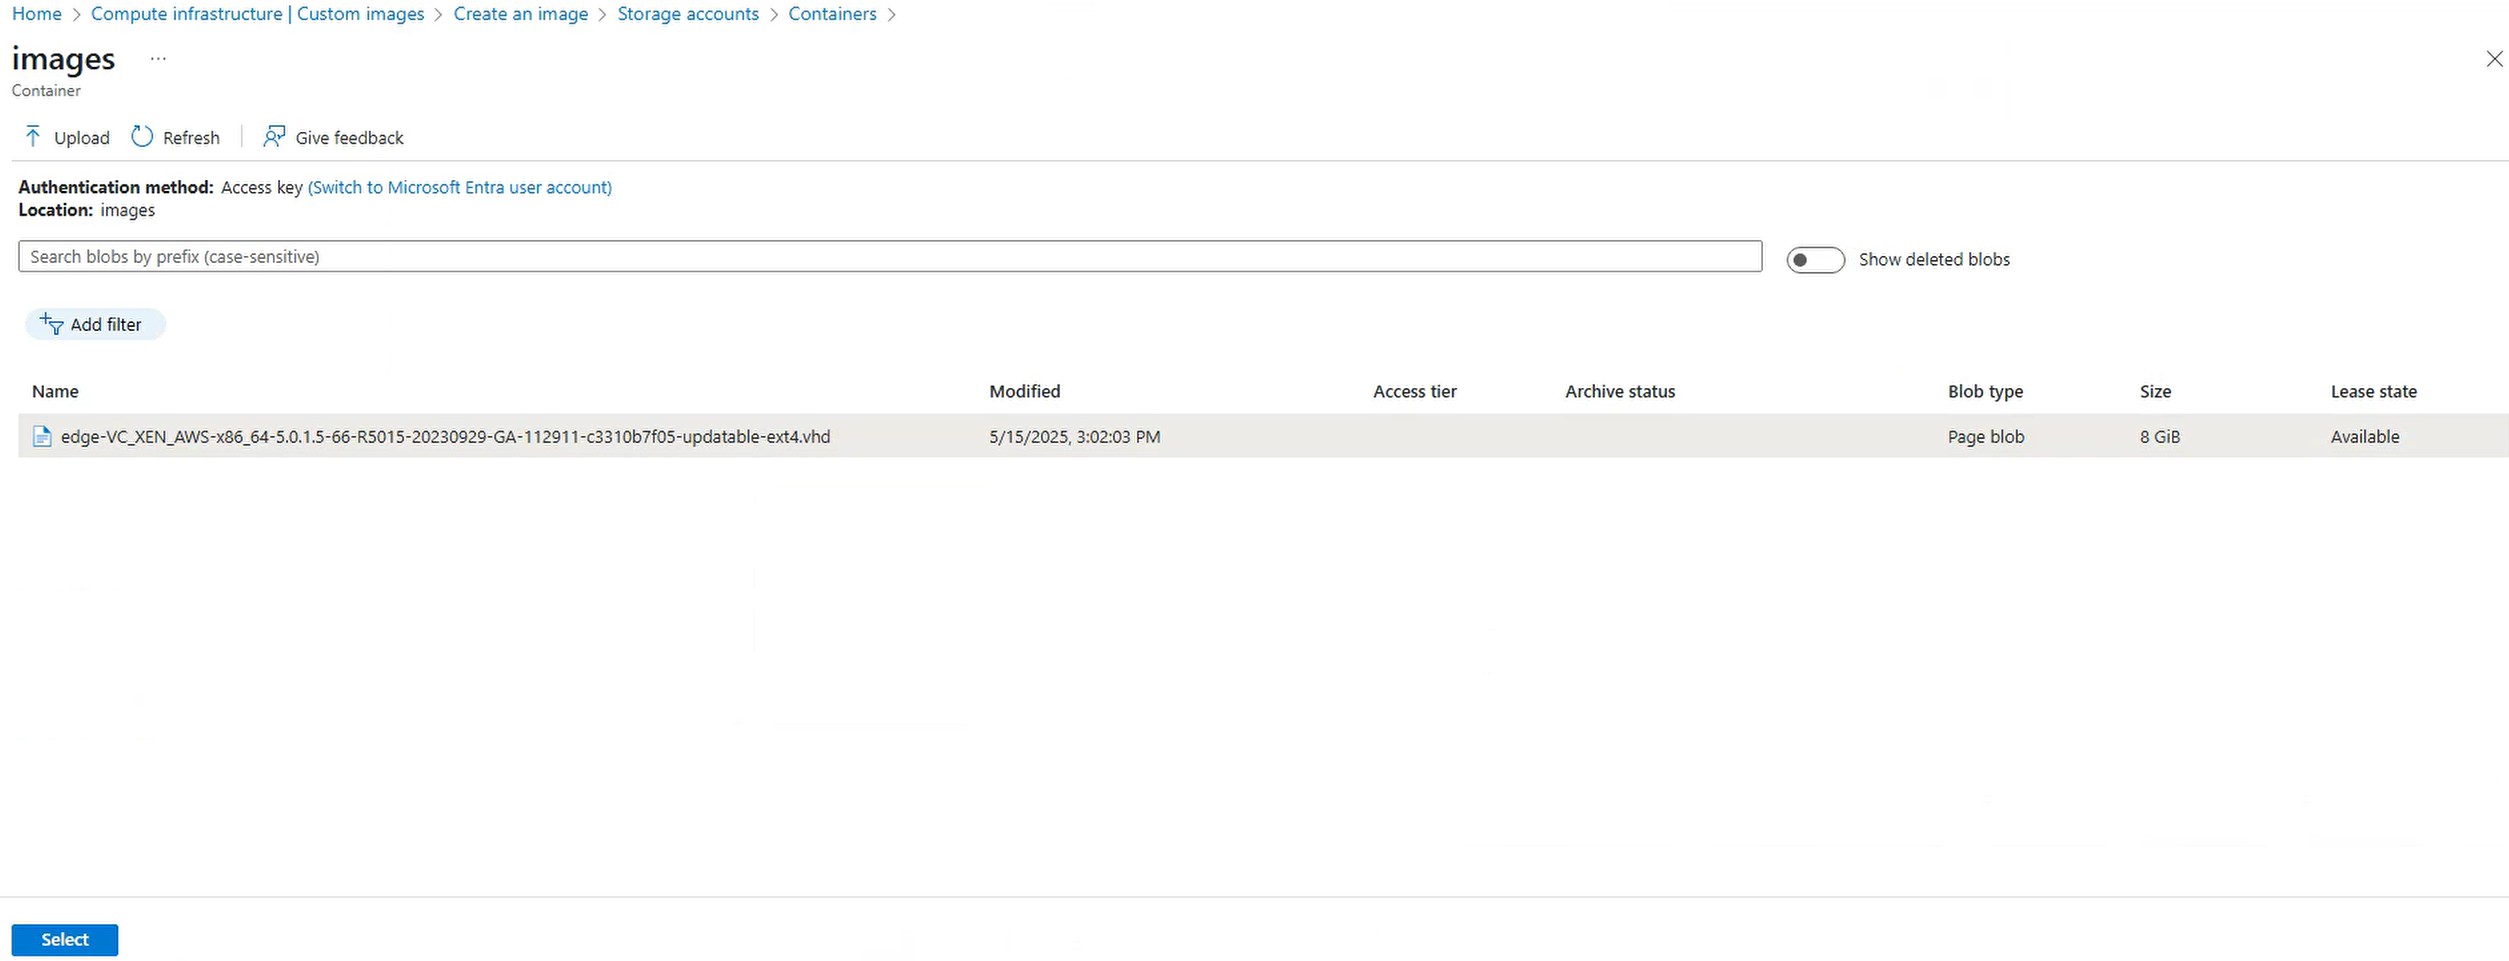
Click on the Blob container called “images”. Upload the file “edge-VC_XEN_AWS-x86_64-5.0.1.5-66-R5015-20230929-GA-112911-c3310b7f05-updatable-ext4.vhd” to the images container:

The reason for selecting this “edge-VC_XEN_AWS-x86_64-5.0.1.5-66-R5015-20230929-GA-112911-c3310b7f05-updatable-ext4.vhd” is this is the current version in market place as of May-2025. If you don’t have this file, ask your Velocloud SE. And this is the md5sum:
d09b9158af749bb7a08841c08d6675e2 ./edge-VC_XEN_AWS-x86_64-5.0.1.5-66-R5015-20230929-GA-112911-c3310b7f05-updatable-ext4.vhdCreate the VCE image
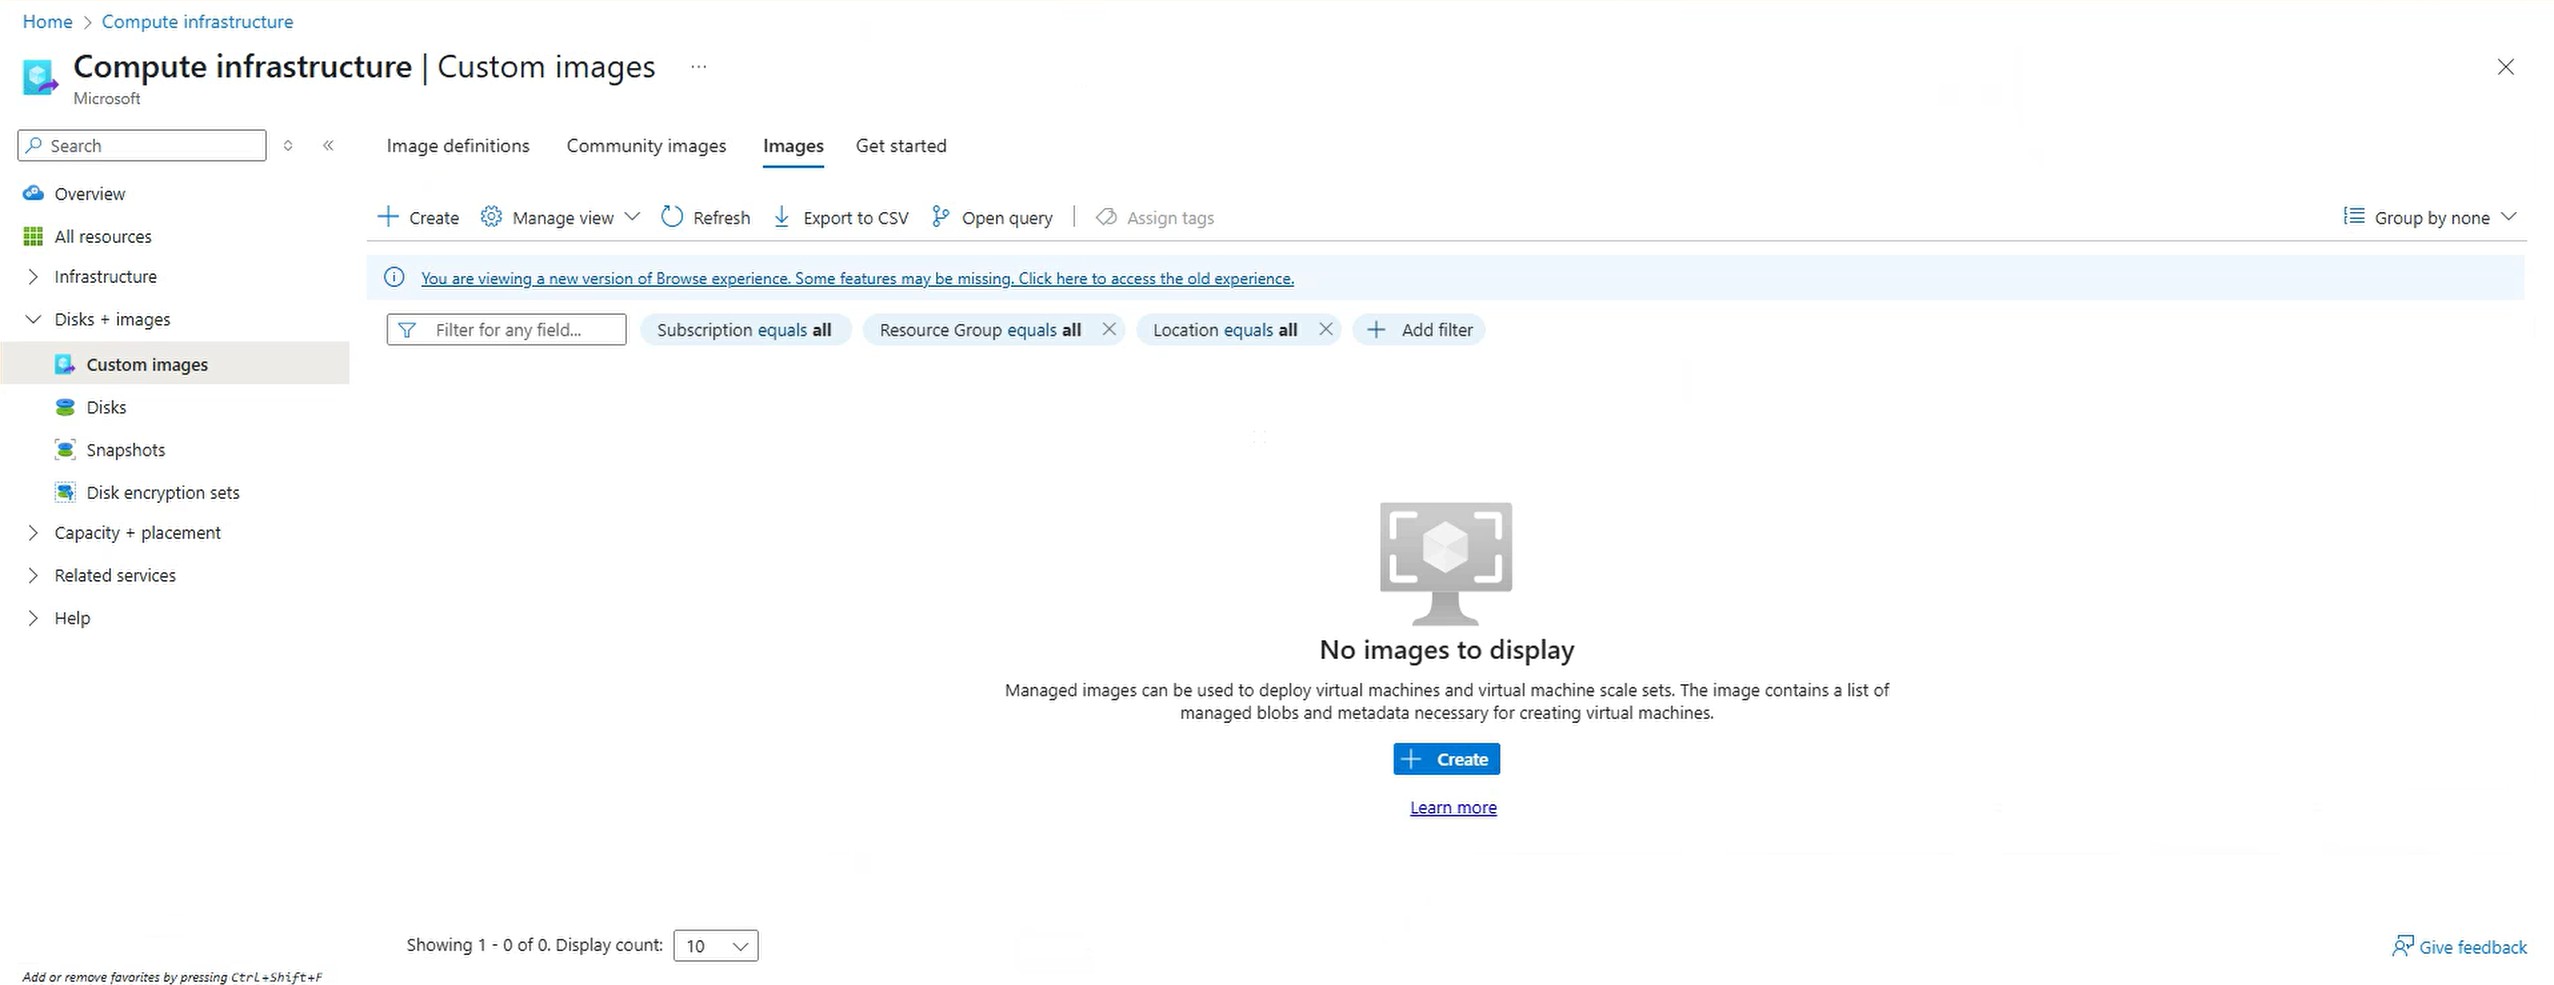
Go to “Images” in Azure portal, select “Custom Images”:
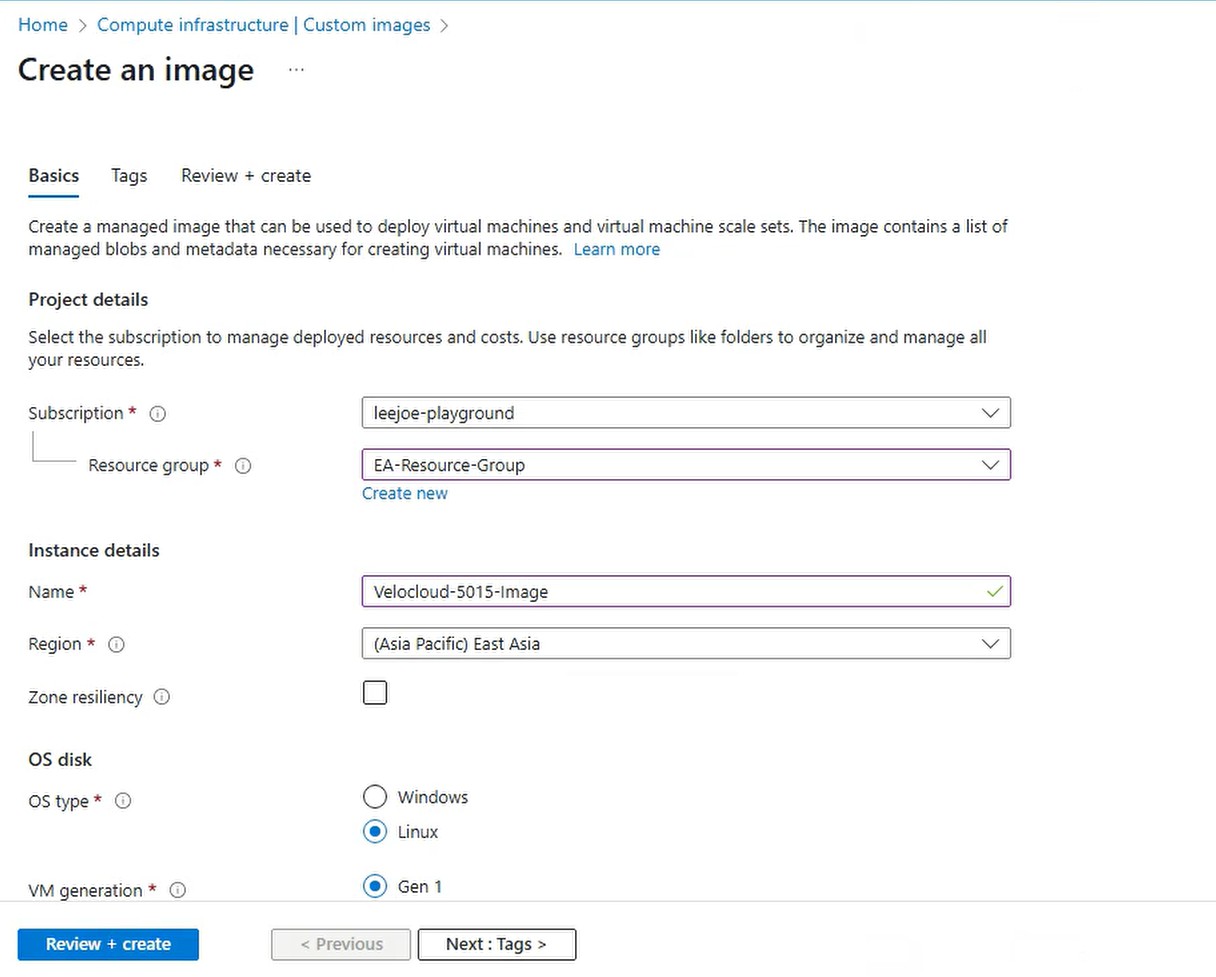
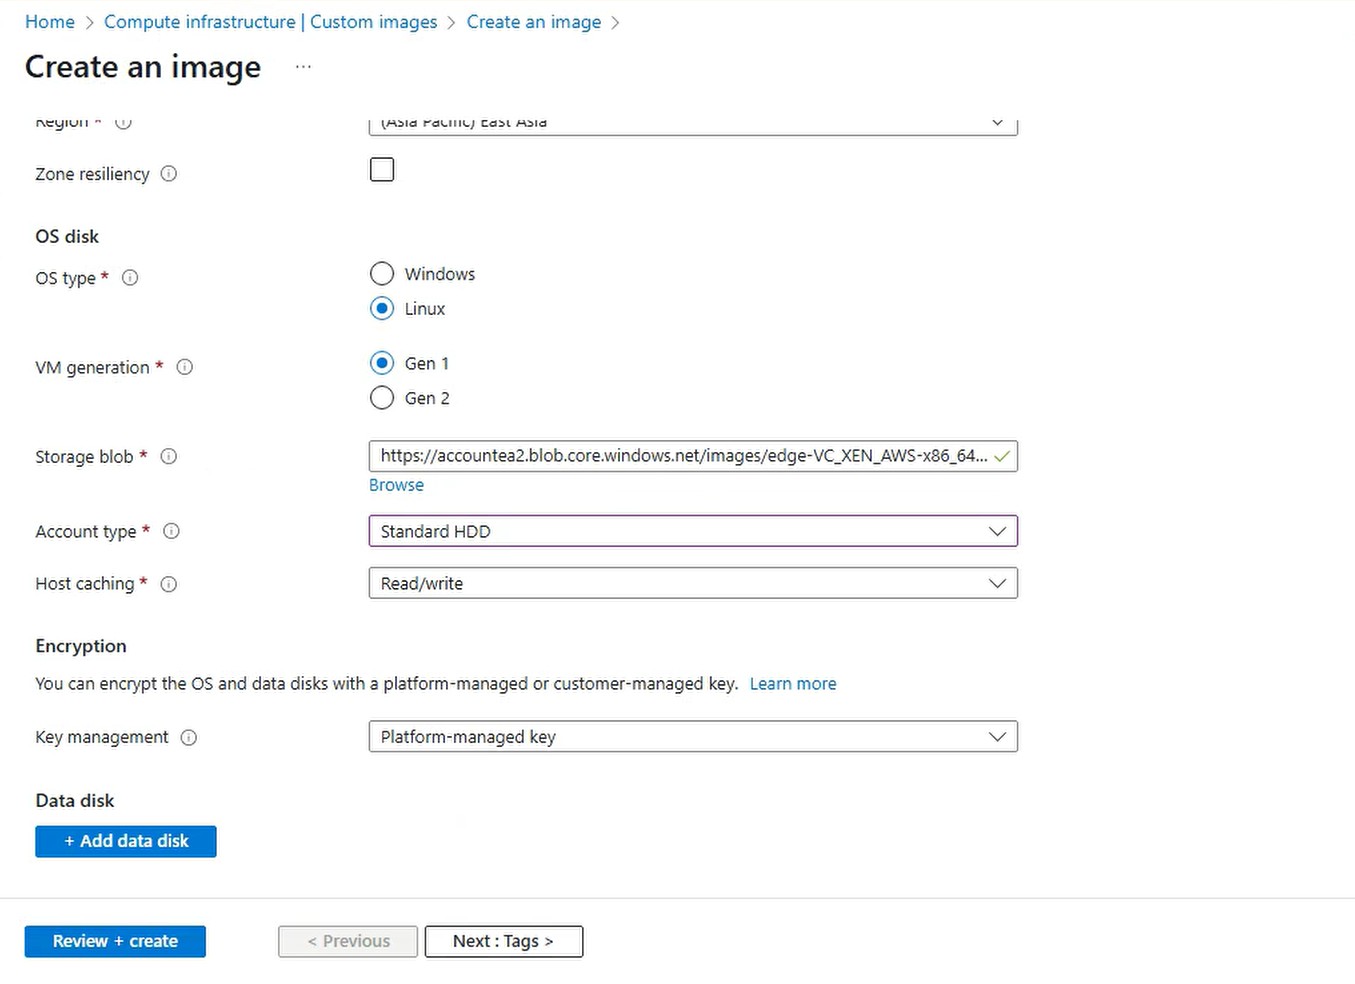
Click Create, name the image as “Velocloud-5015-Image”, select OS as Linux with “Gen 1”:
In the Storage blob field, select the “edge-VC_XEN_AWS-x86_64-5.0.1.5-66-R5015-20230929-GA-112911-c3310b7f05-updatable-ext4.vhd” uploaded in the previous step.
In the Account type, Standard SSD is select in this article. For Host caching, select “Read/write”. The following screen capture shows the remaining parameters for VCE image creation:
After click “Review + create”
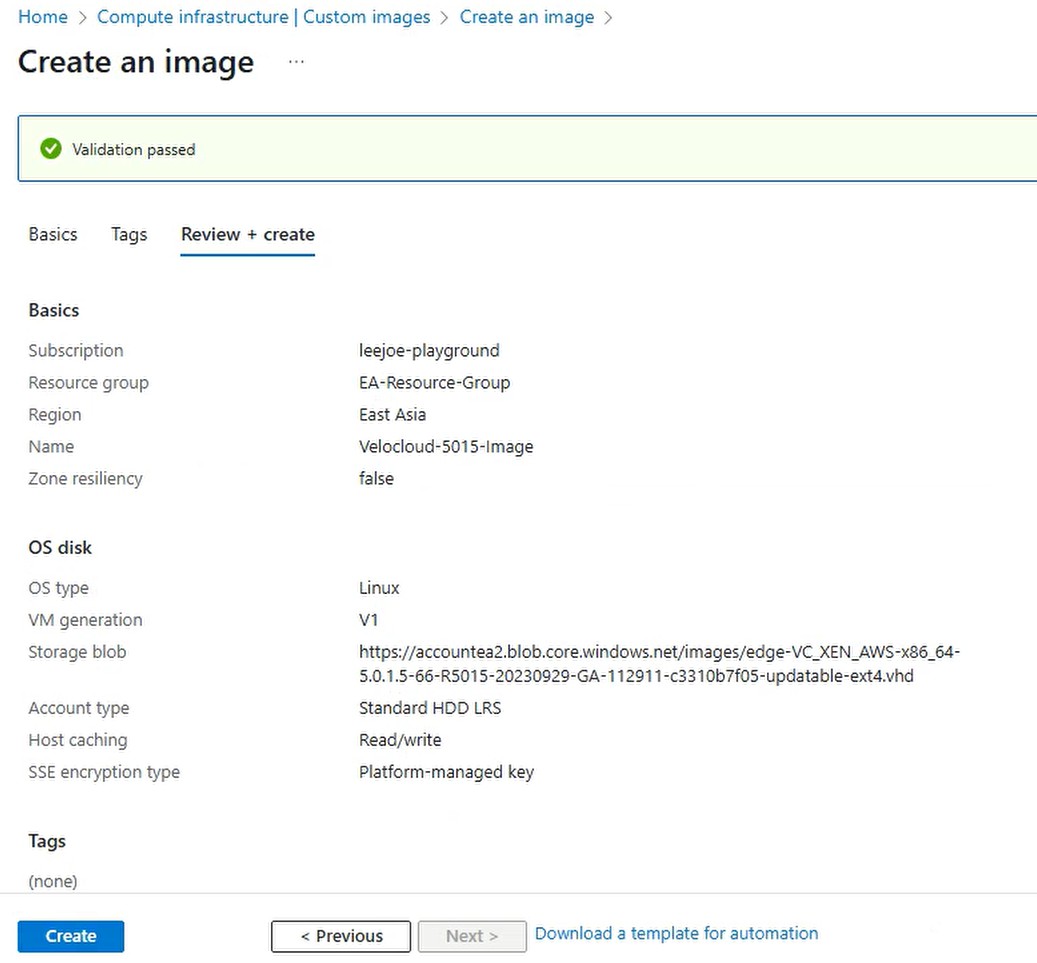
and then click “Create”. An image called “Velocloud-5015-Image” is created:
