Public IP Address
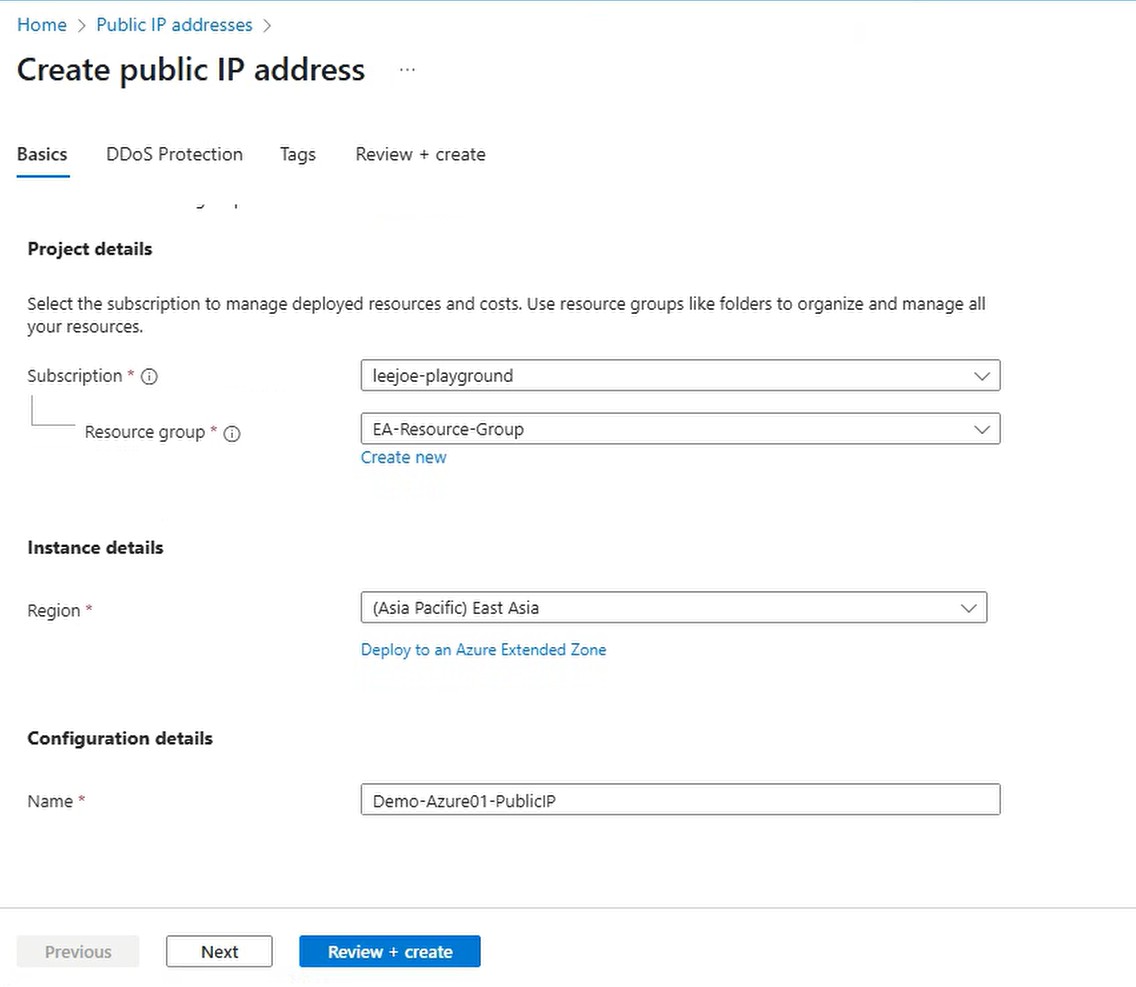
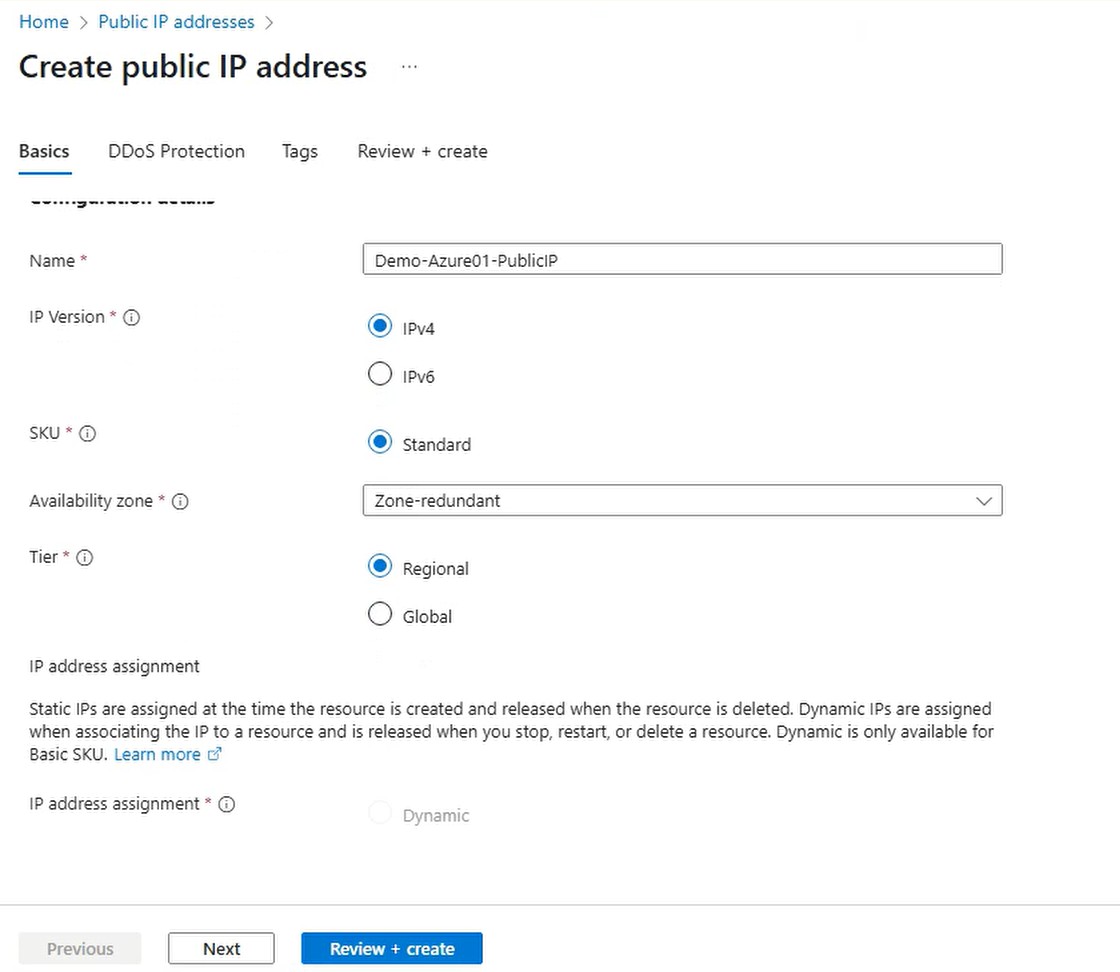
The WAN interface which is Demo-Azure01-GE1 requires a public IP address. Go to “Public IP addresses” and click “Create”. Give a name to the public IP, here is “Demo-Azure01-PublicIP”. Select IPv4, Standard SKU, Zone-redundant and Regional Tier, click “Review + create”
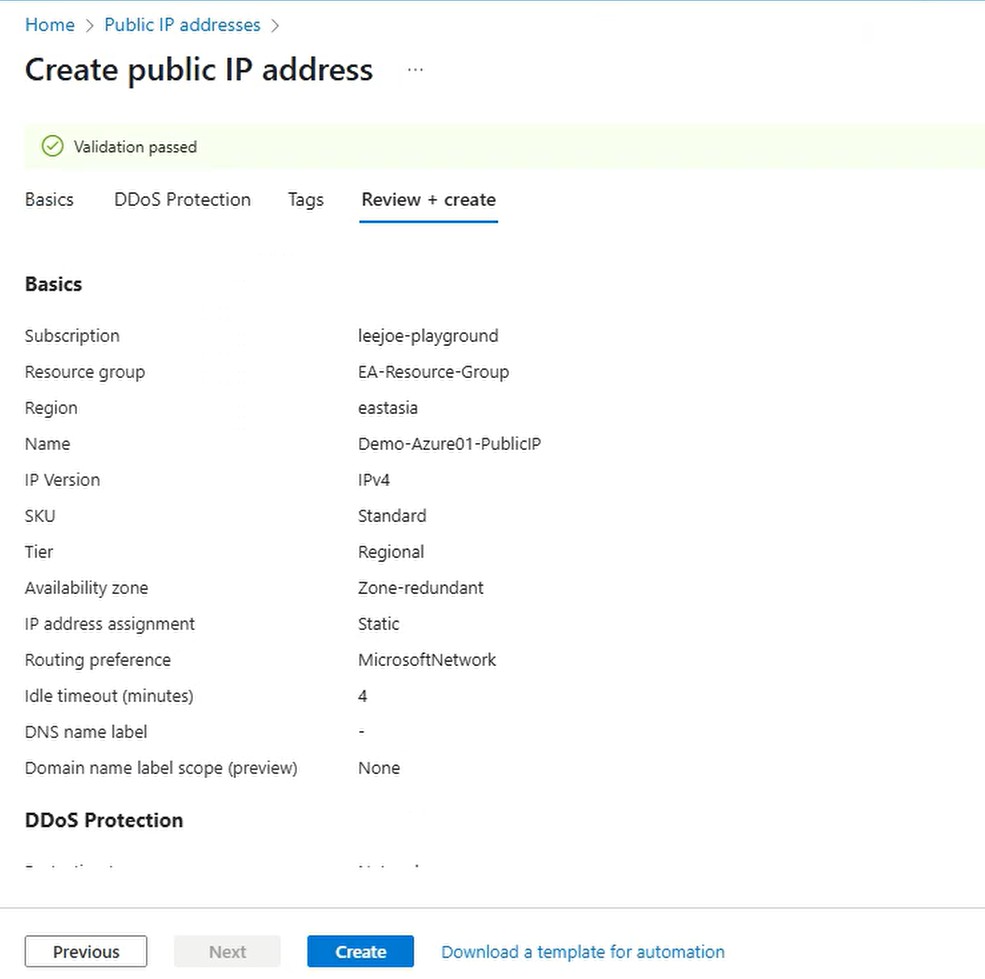
Click Create after Validation passed.
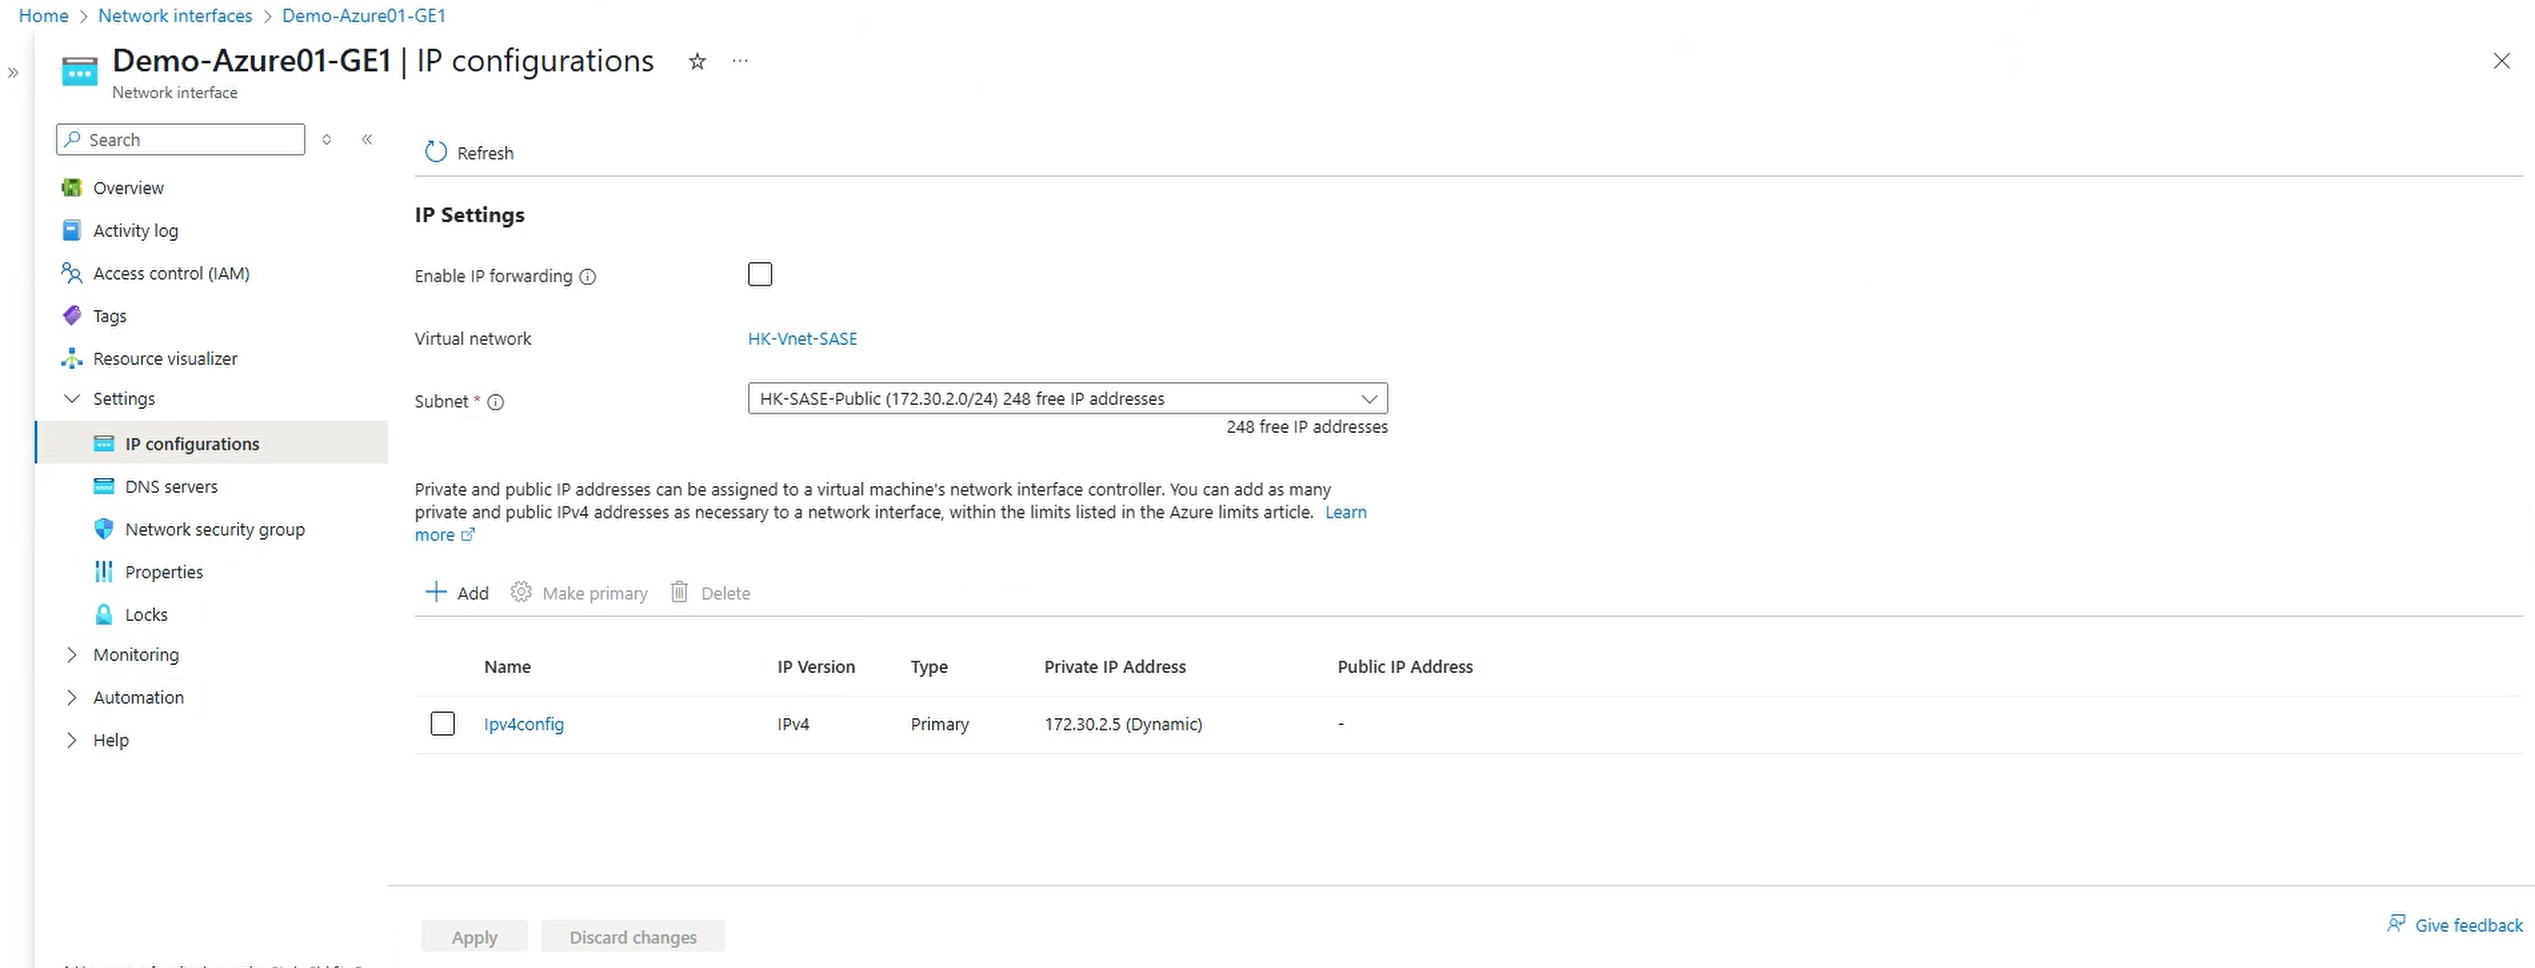
Associate the public IP address to NIC Demo-Azure01-GE1 (GE1 is WAN). Click on the NIC Demo-Azure01-GE1, go to “IP configurations” -> “IP Settings” -> “ipv4config”
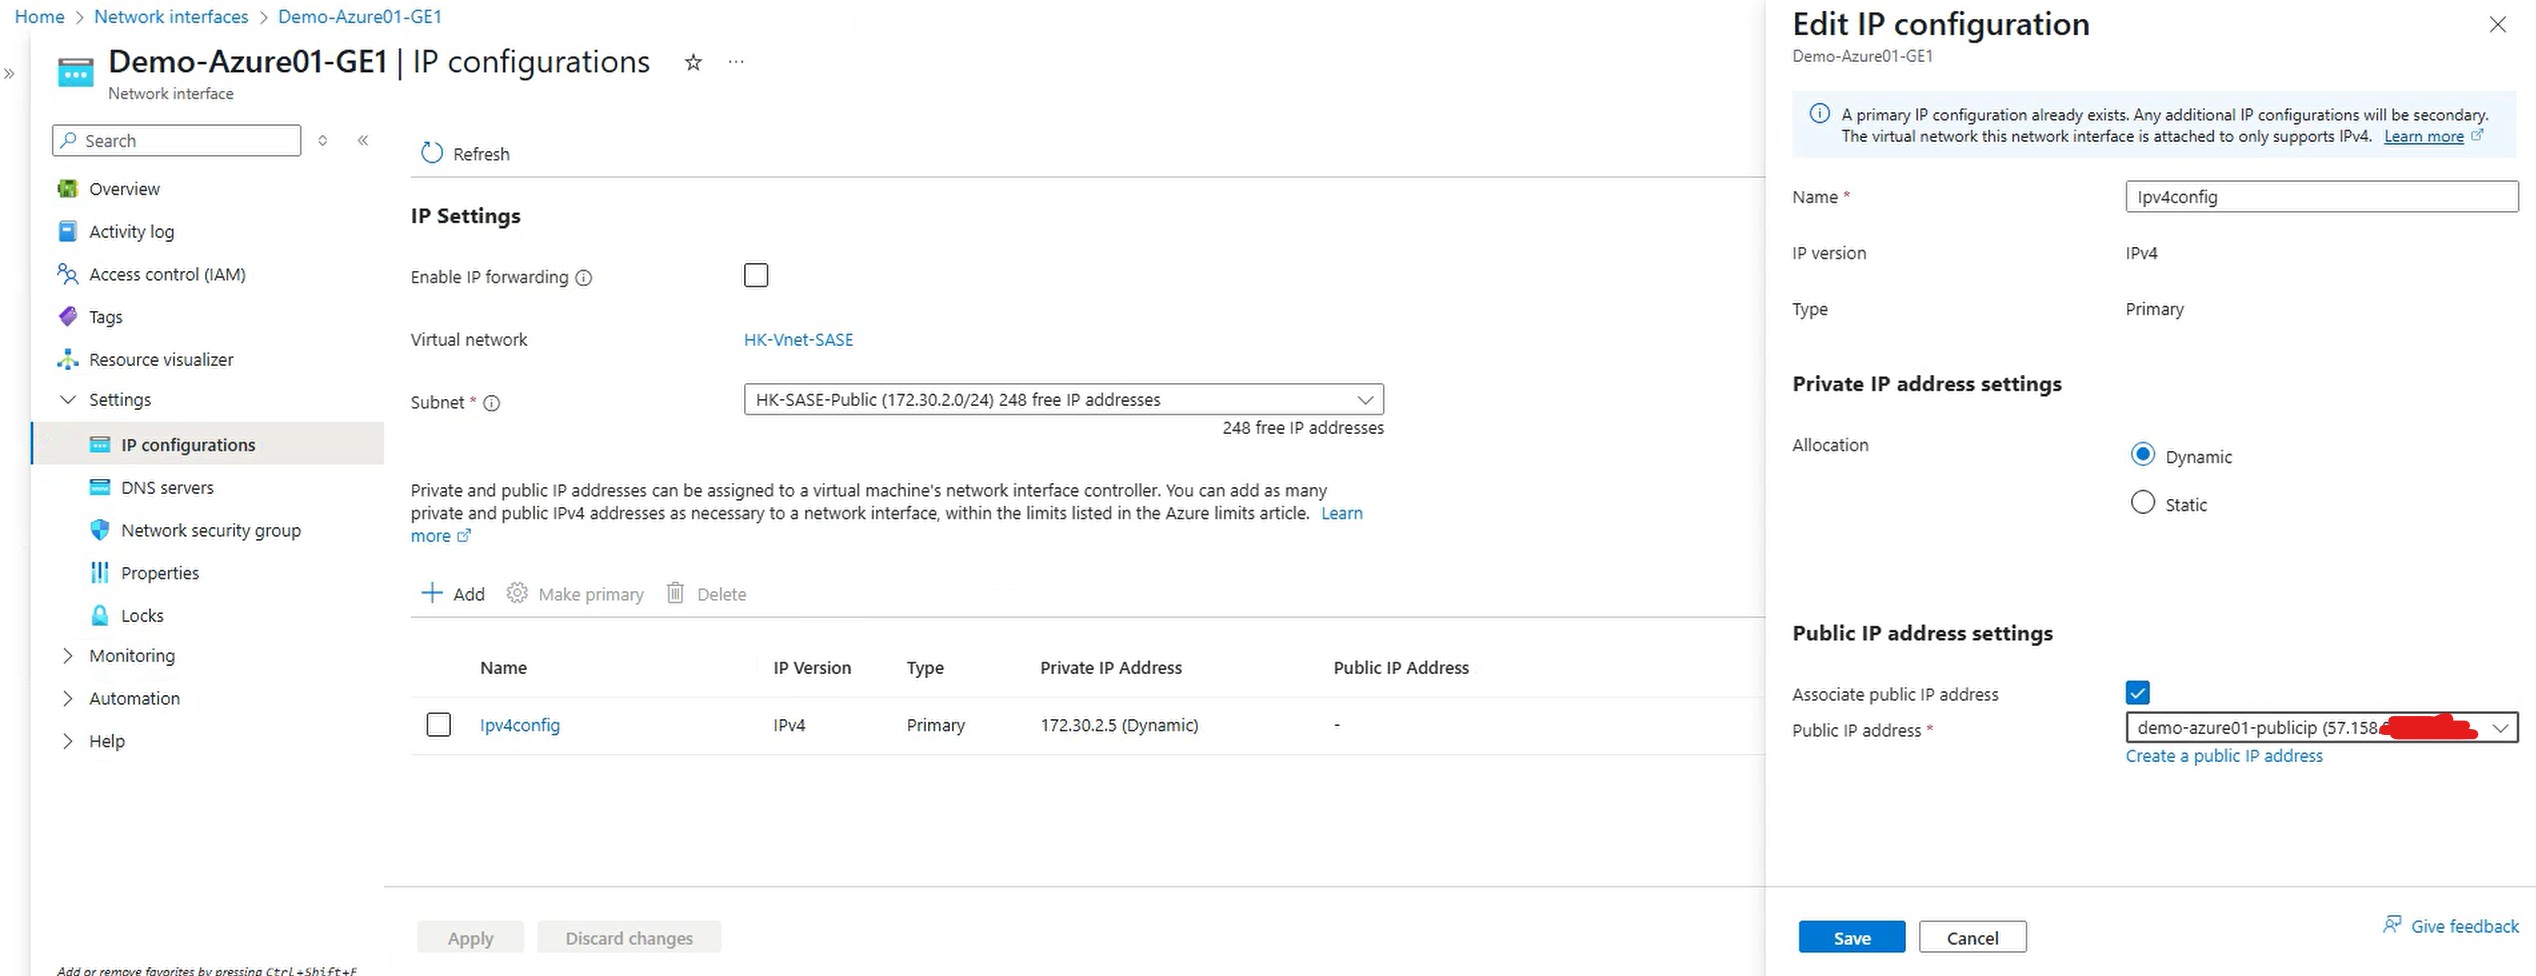
Enable “Associate public IP address”, in the Public IP address drop down menu, select the IP created in the previous step, in this case is demo-azure01-publicip:
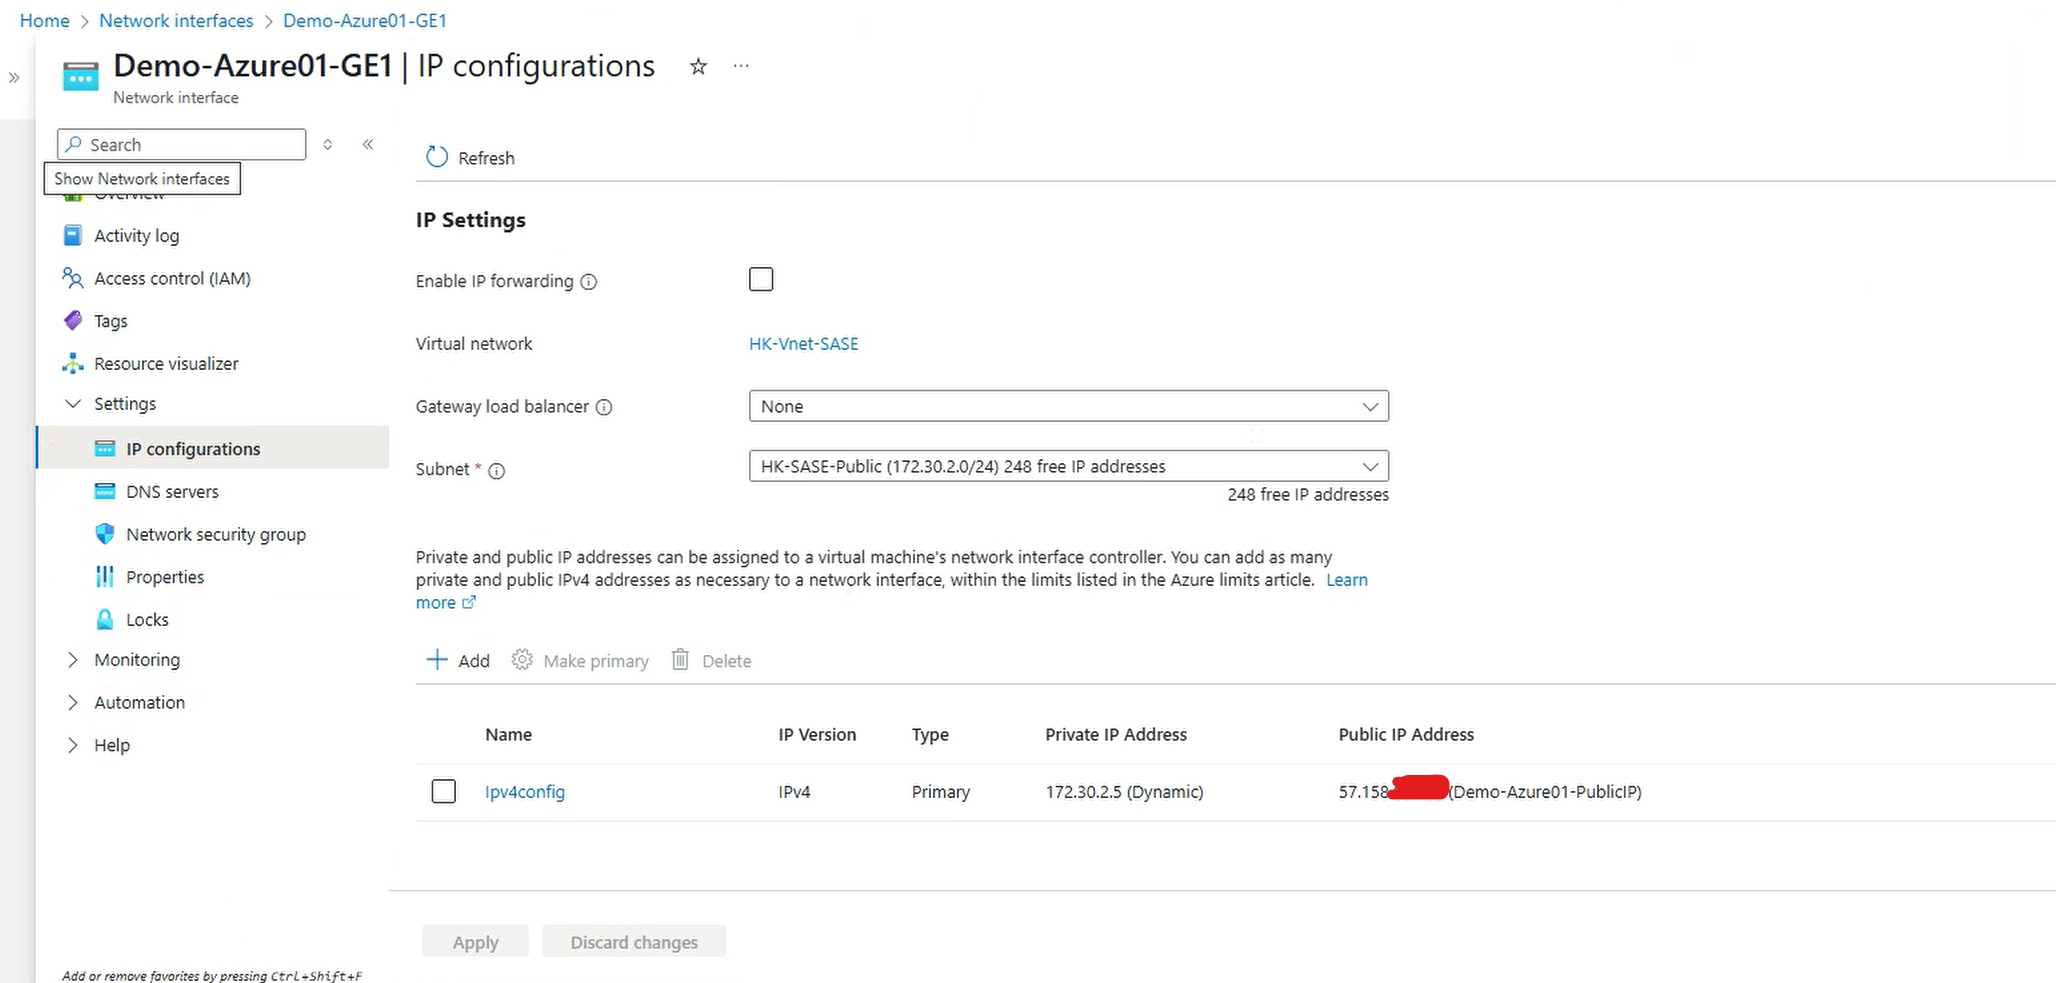
After associate public IP address to NIC Demo-Azure01-GE1:
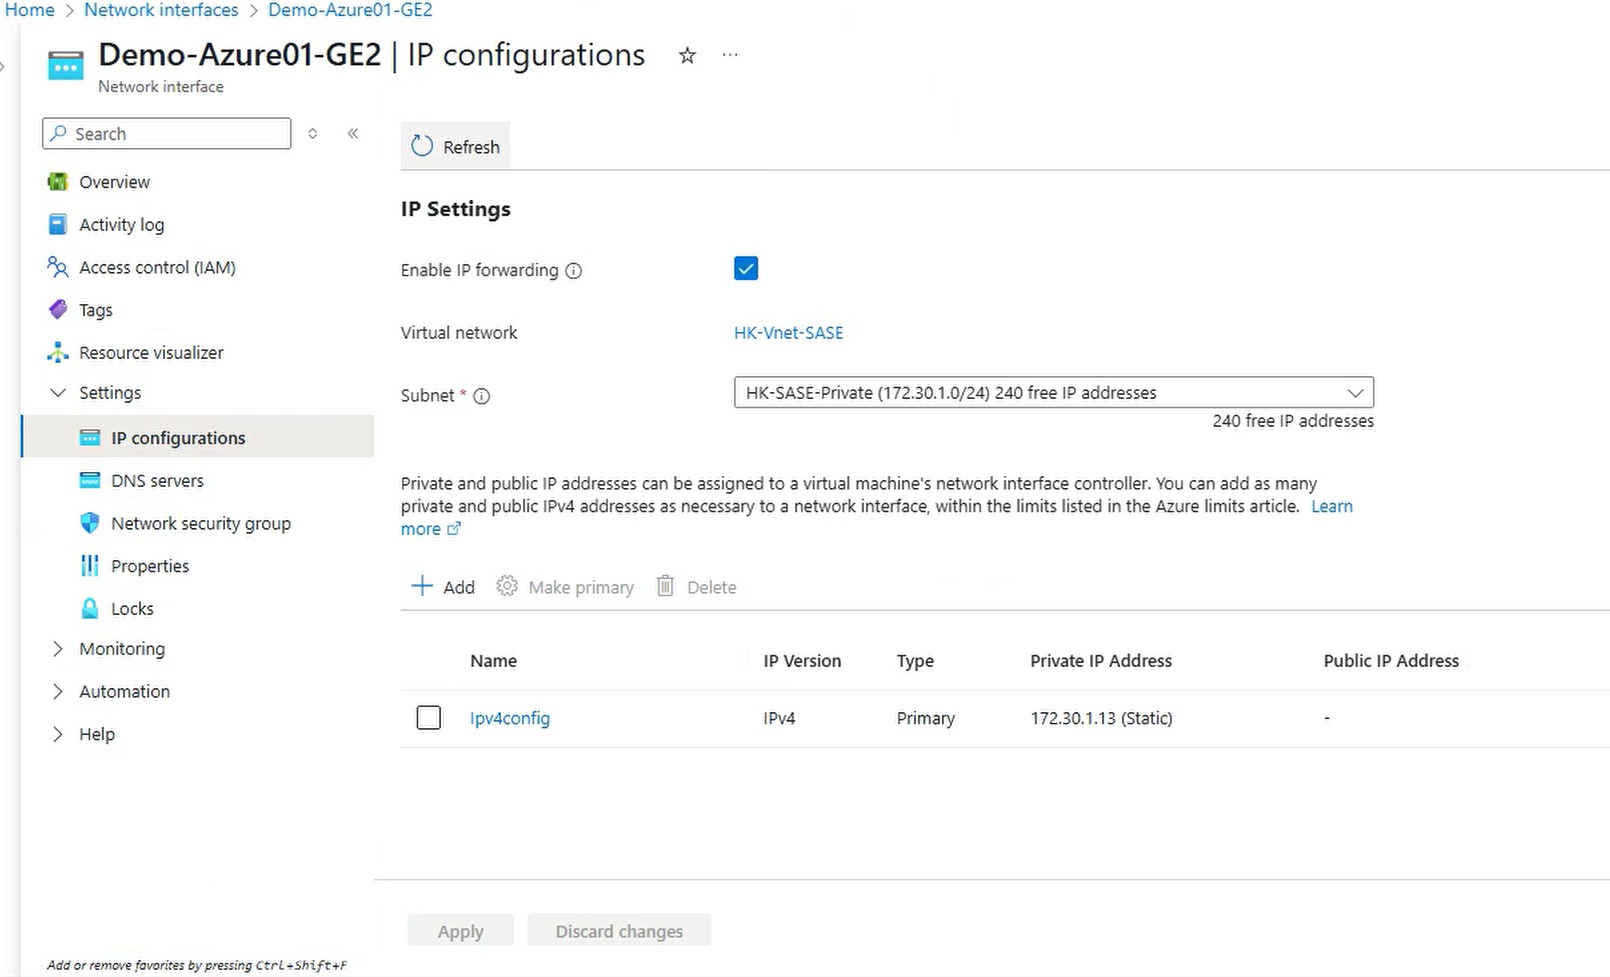
Enable IP Forwarding
On GE2 (LAN side), IP Forwarding needs to be enabled. Click on NIC Demo-Azure01-GE2, go to “IP configurations” -> “IP Settings”, check the “Enable IP forwarding” checkbox and click Apply:
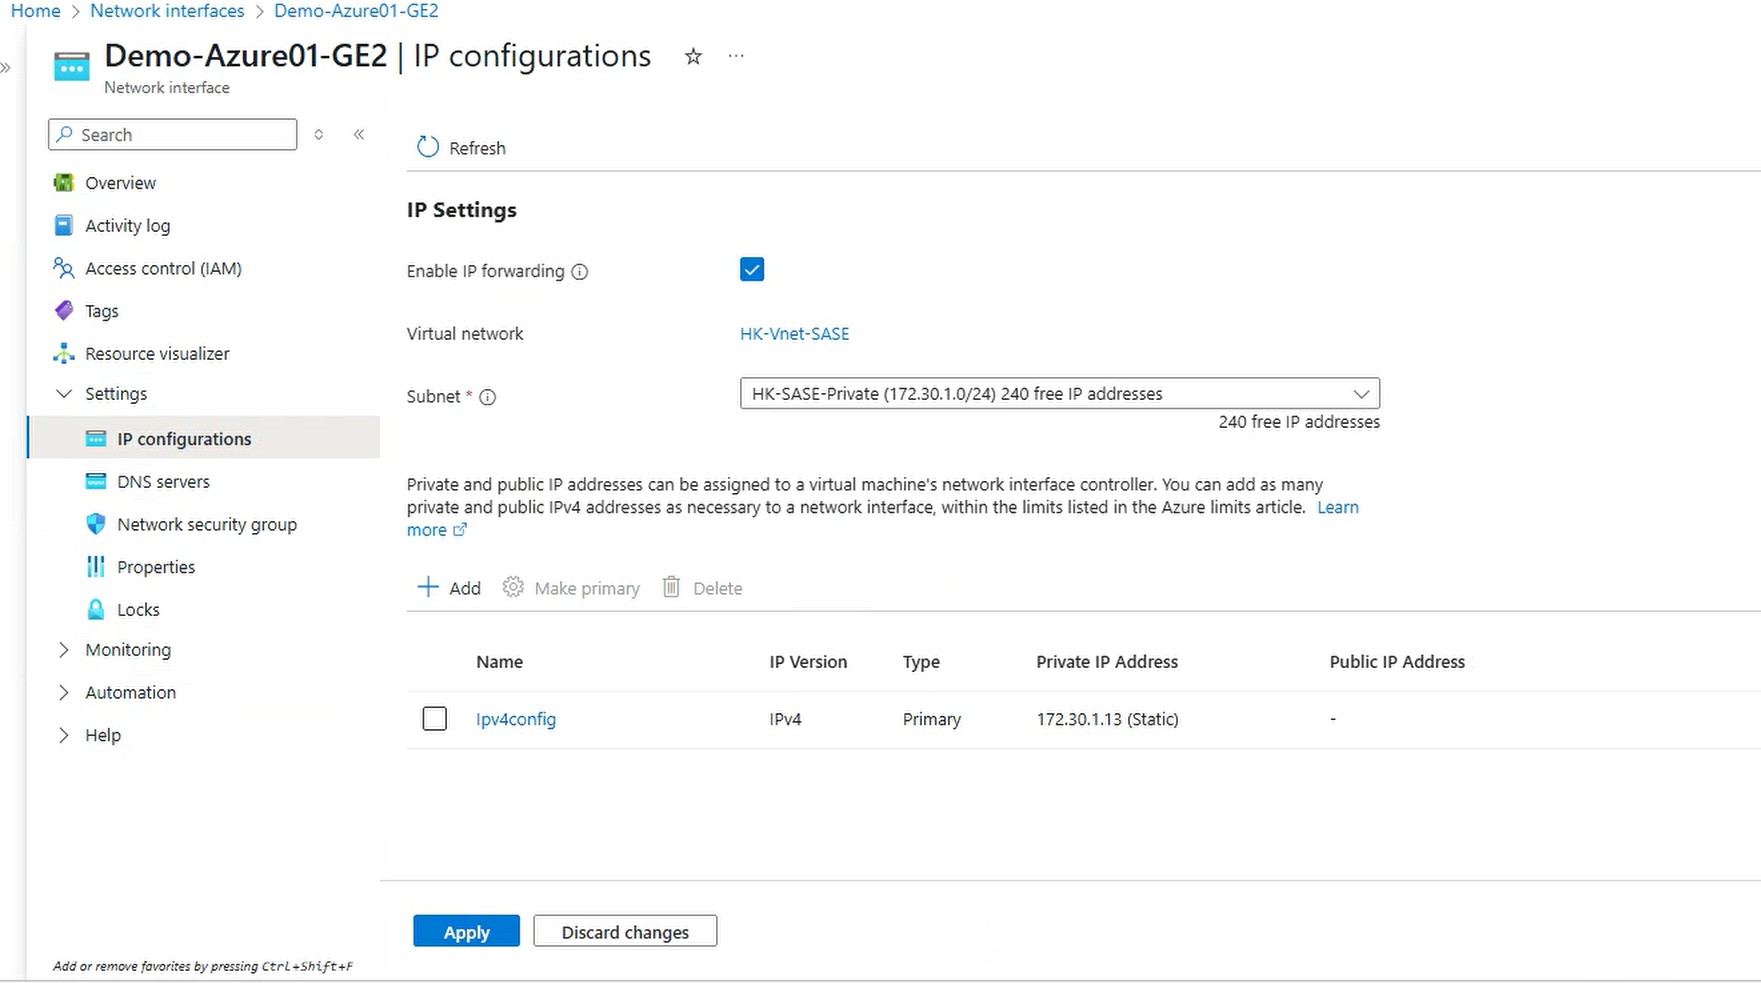
After enabled “Enable IP forwarding”: