Create the Virtual VCE VM
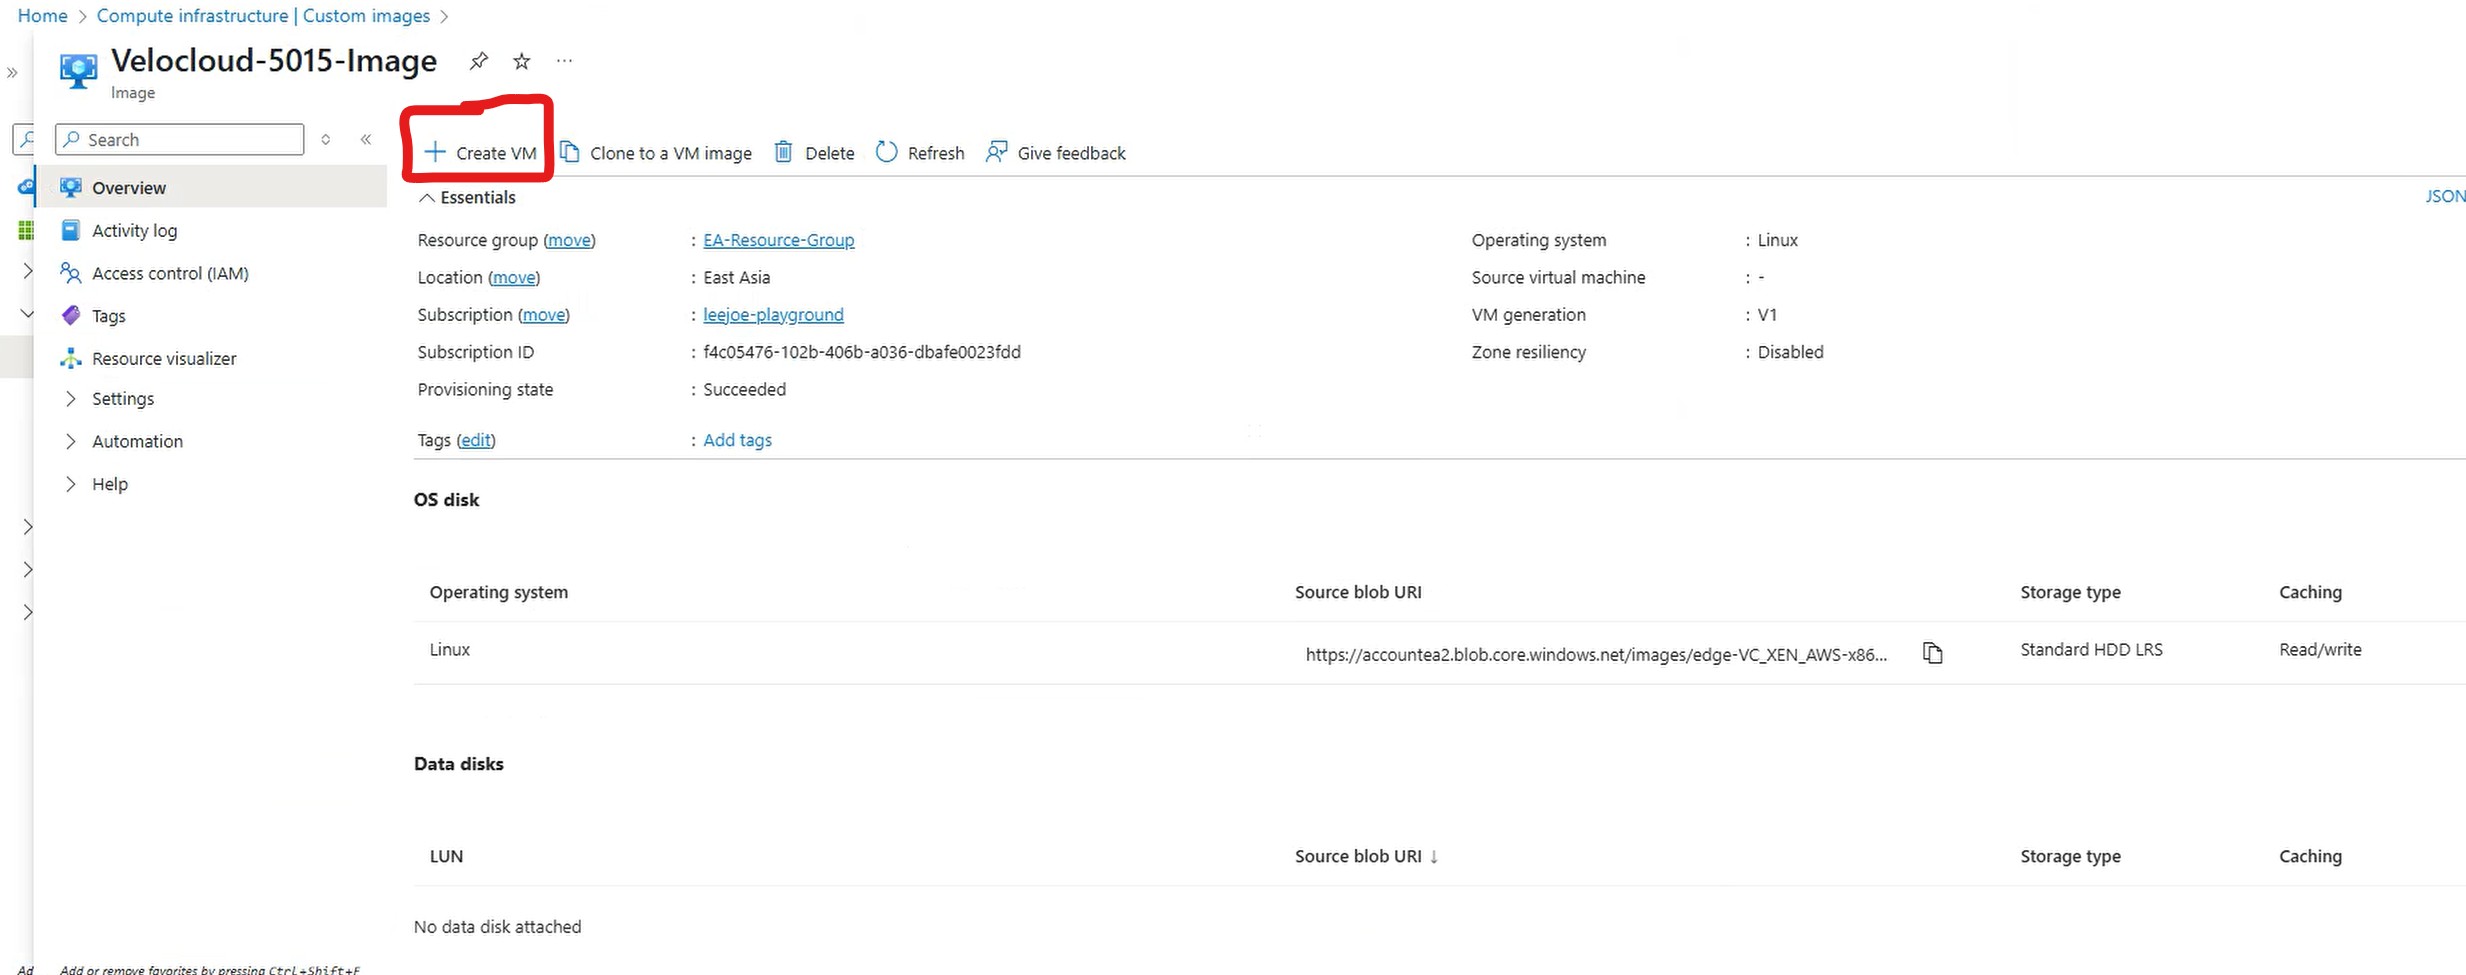
NOTE: Please make sure you understand the “Custom data” configuration before create the VM. Go to “Images” and click on the “Velocloud-5015-Image” created in this article. Next, select “Create VM”
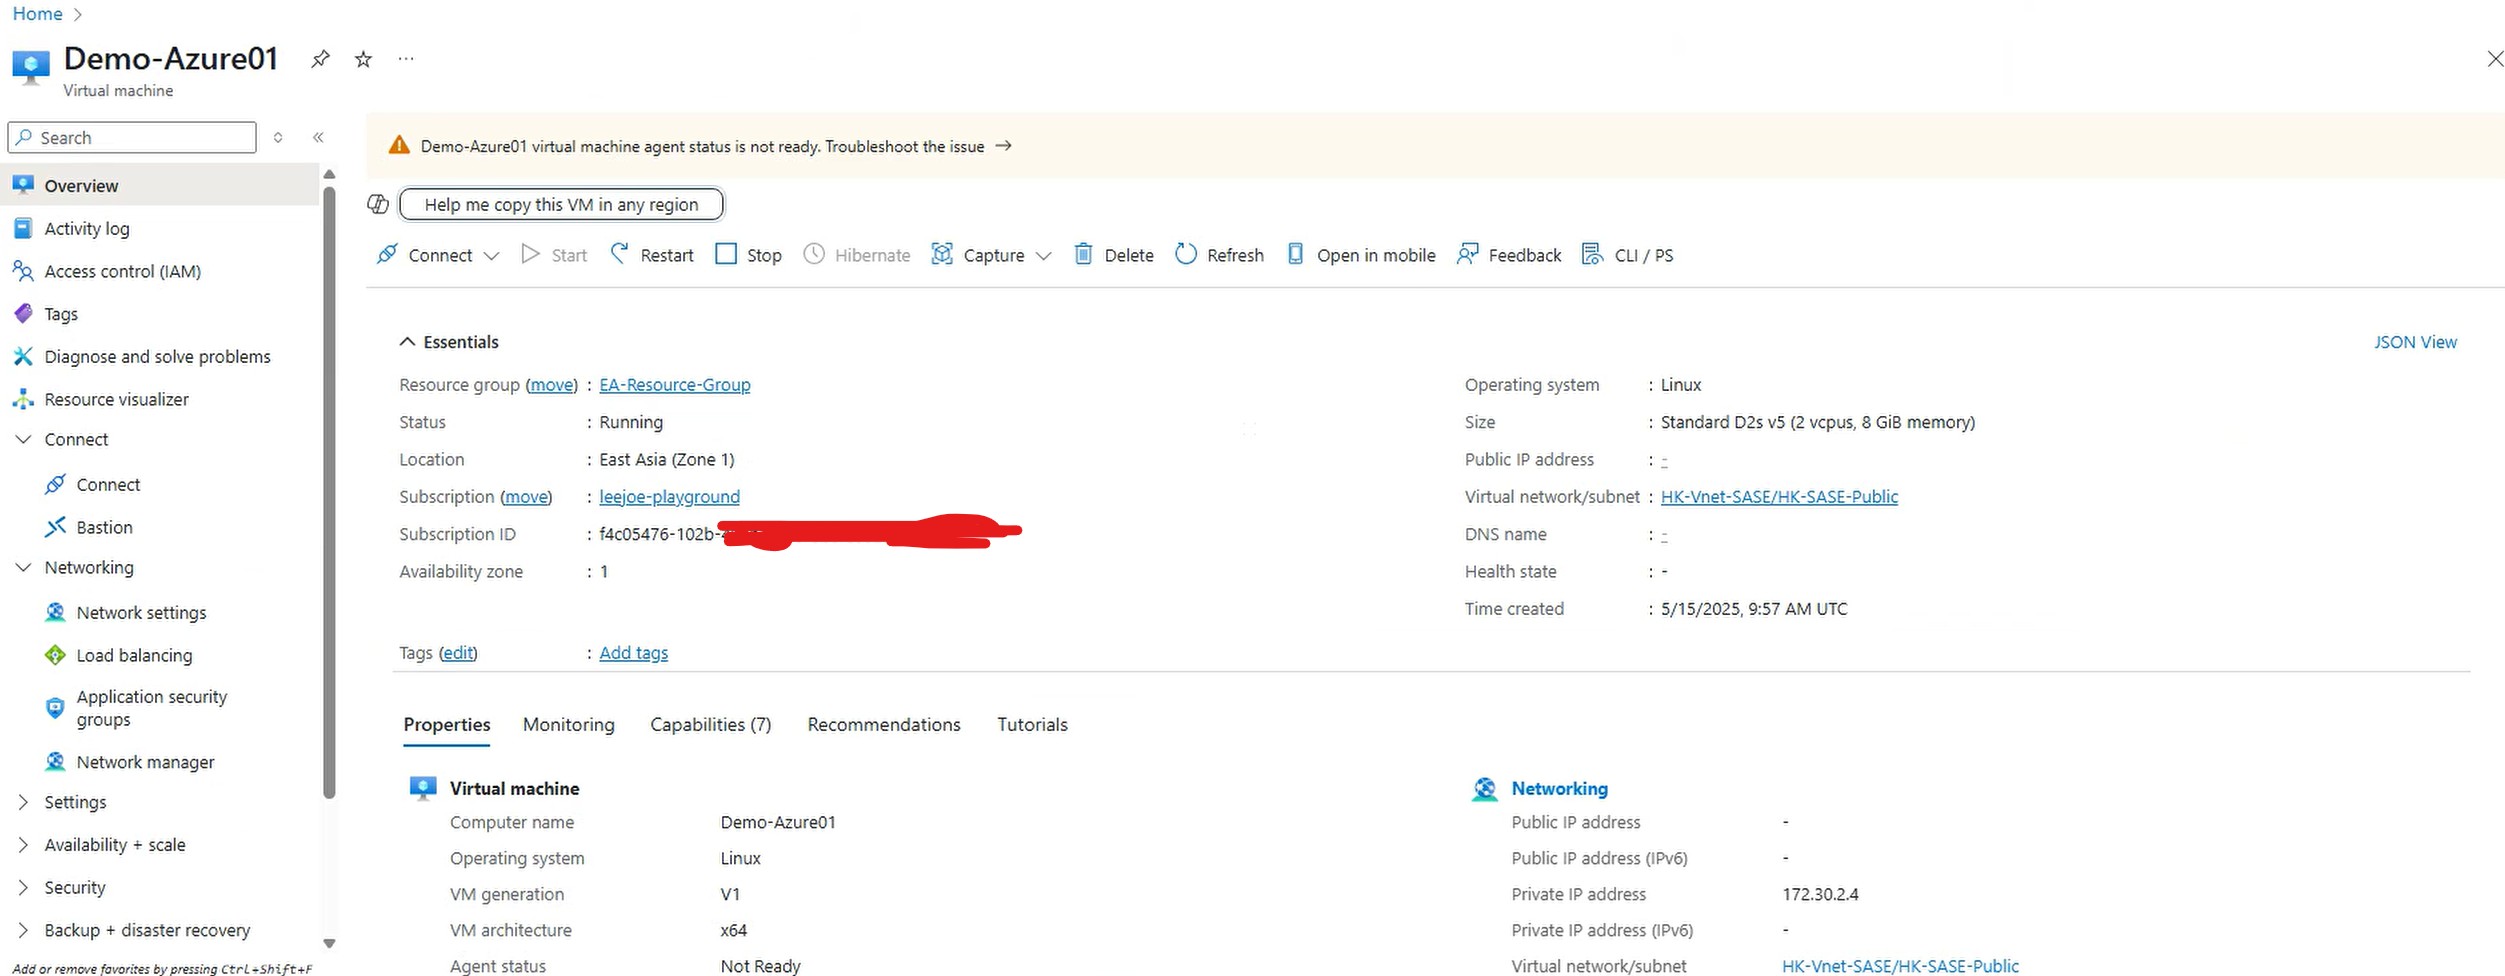
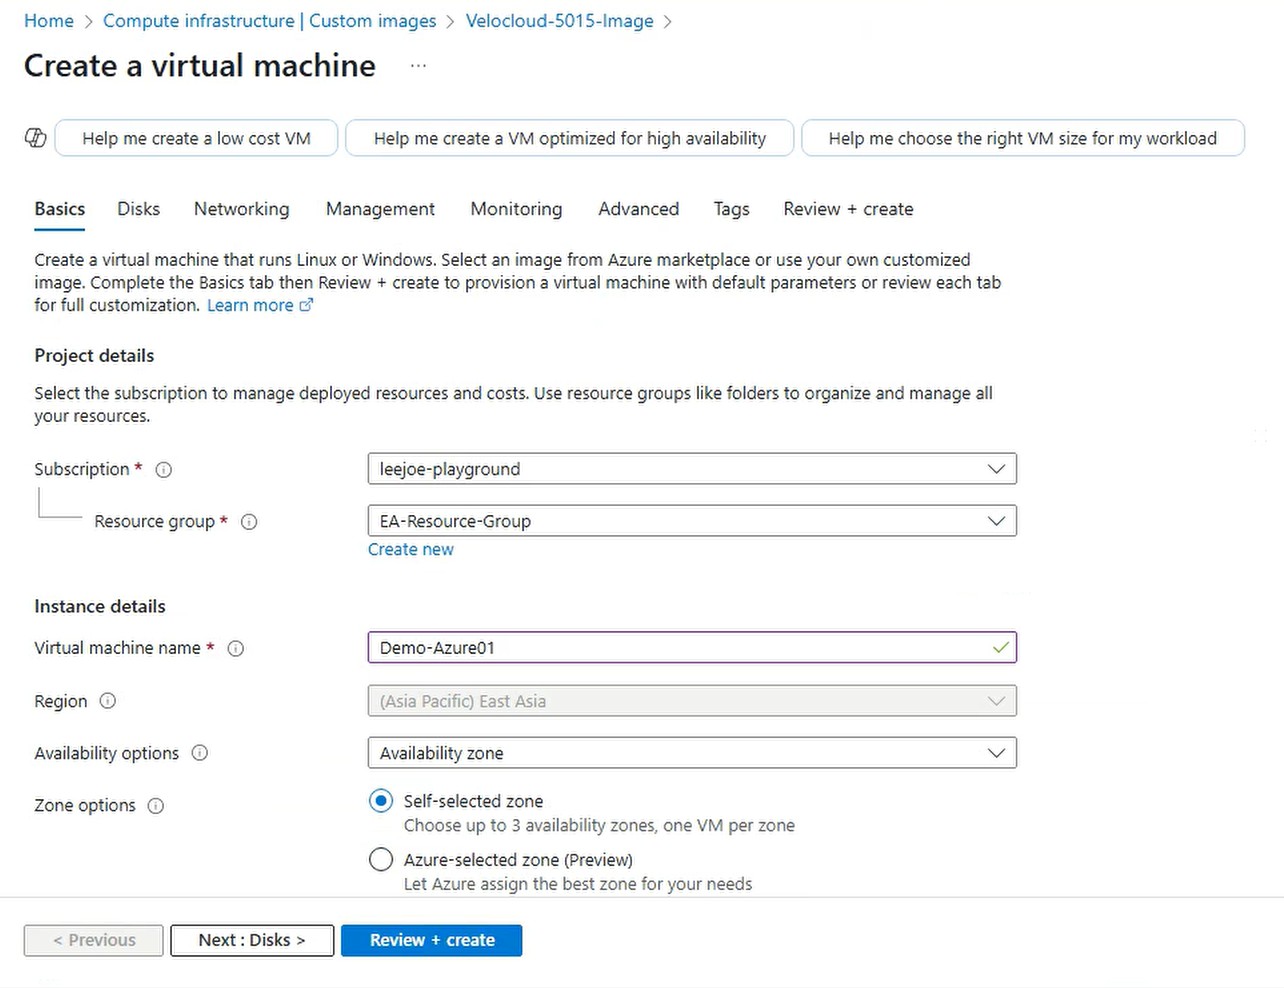
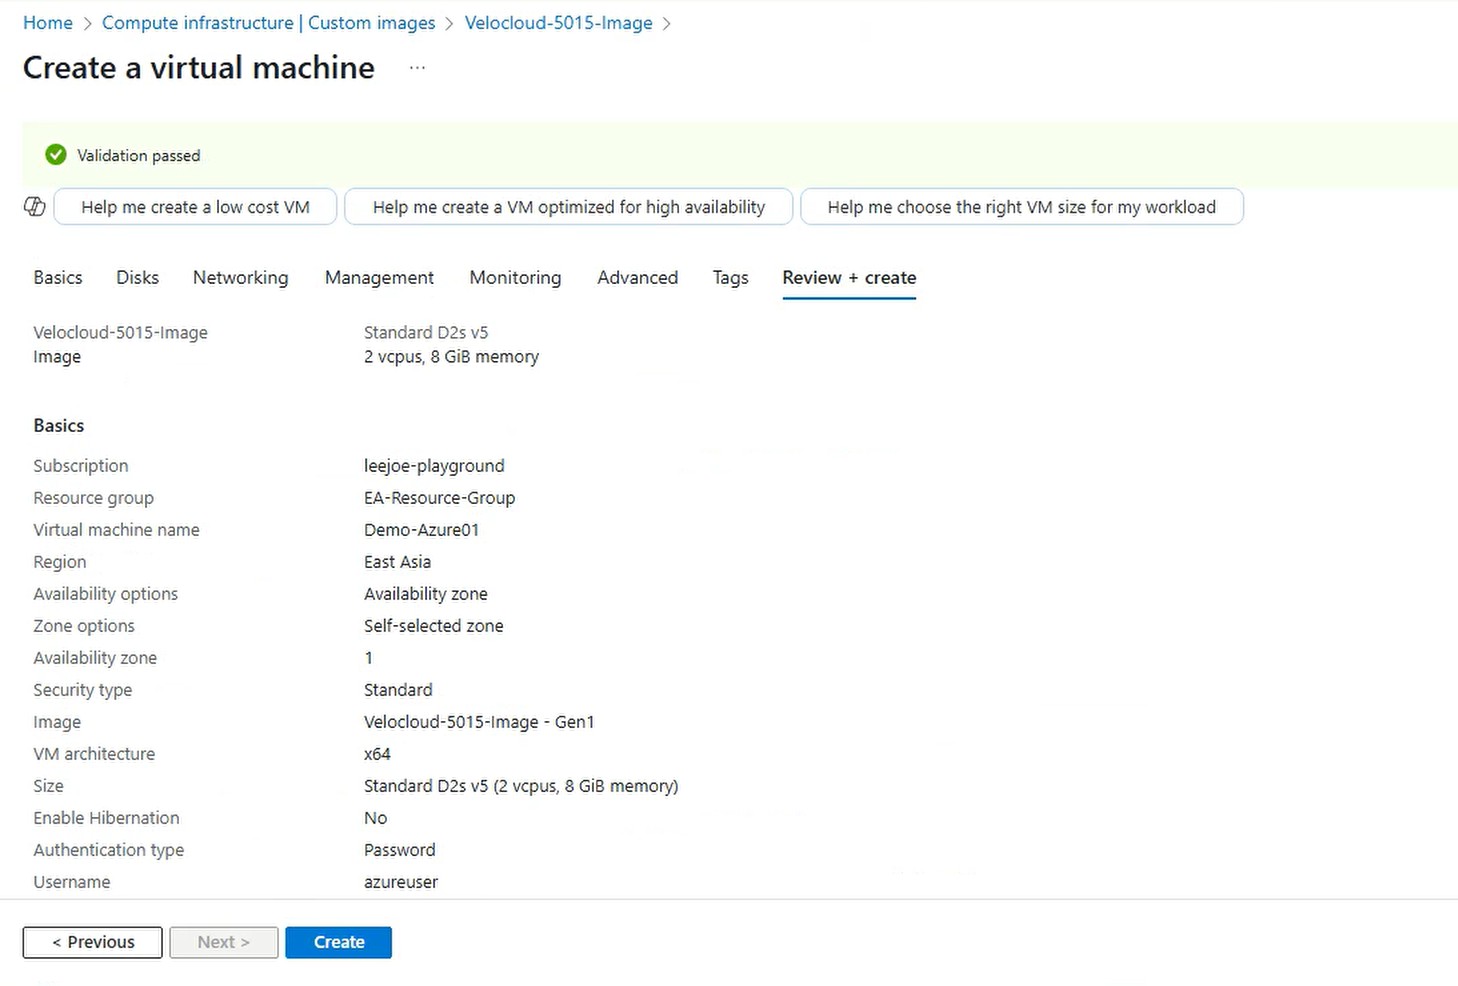
For the VM name, in this article will call Demo-Azure01
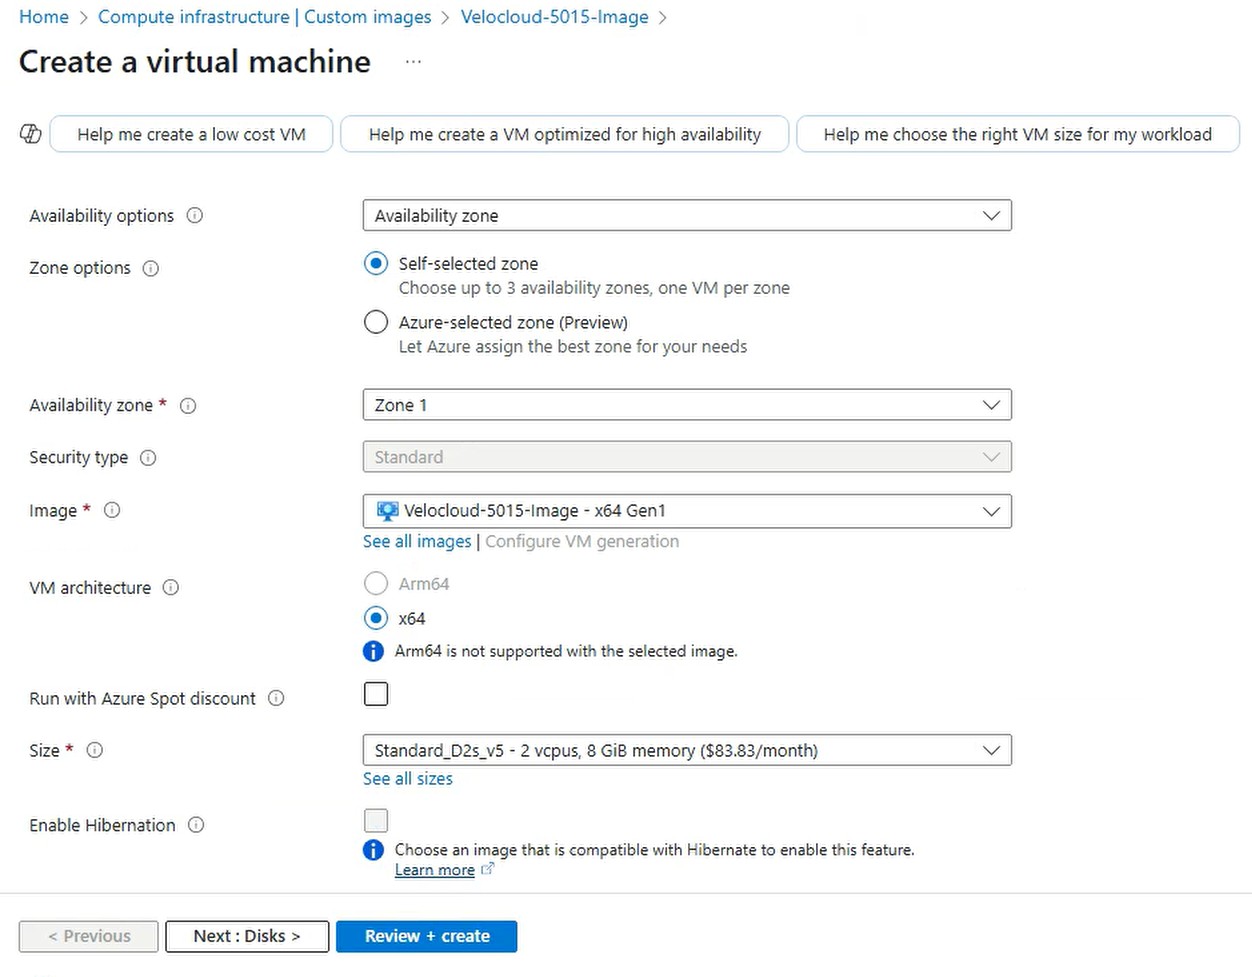
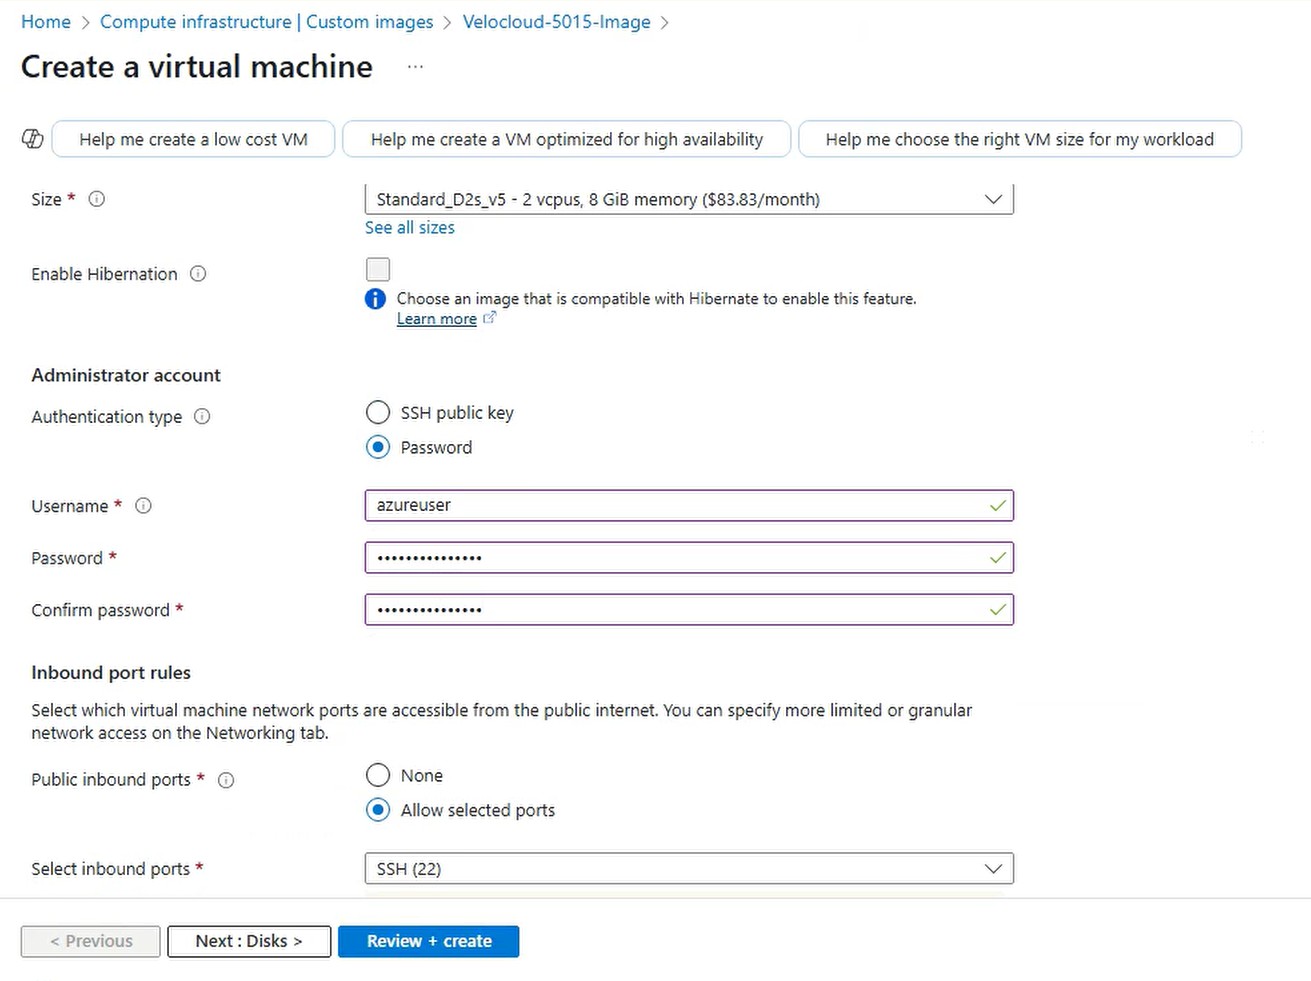
The image should already selected as Velocloud-5015-Image x64 Gen1. For the Size, you need to select the size suitable for your environment and requirement. For this demonstration, Standard_D2s_v5 is selected:
For the Authentication type, as mentioned at the beginning, since we want to able to login with serial console, so select “Password” as Authentication type. In this article, the username is “azureuser” and the password is “Velocloudsdwan2”.
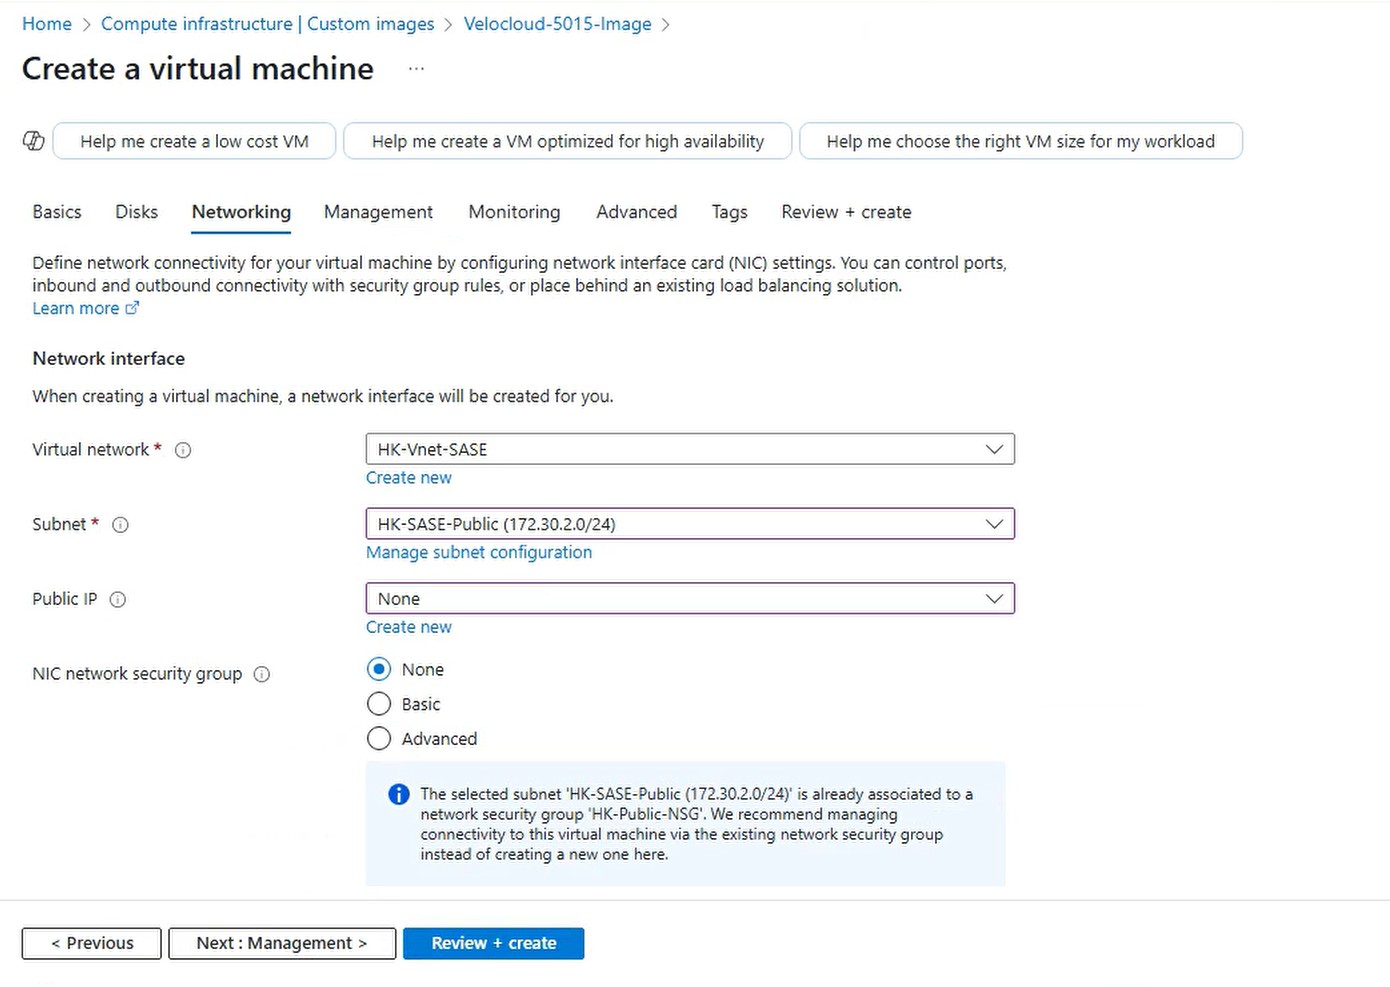
Do NOT click “Review + create” at this point. Instead click “Next: Disks >”, no need to change the Disks setting, that is use default for Disks. Then click “Next: Networking >”, In the networking section, do not assign a new Public IP. The NIC created here is going to unbind and deleted at the end (remember we created two NICs previously).
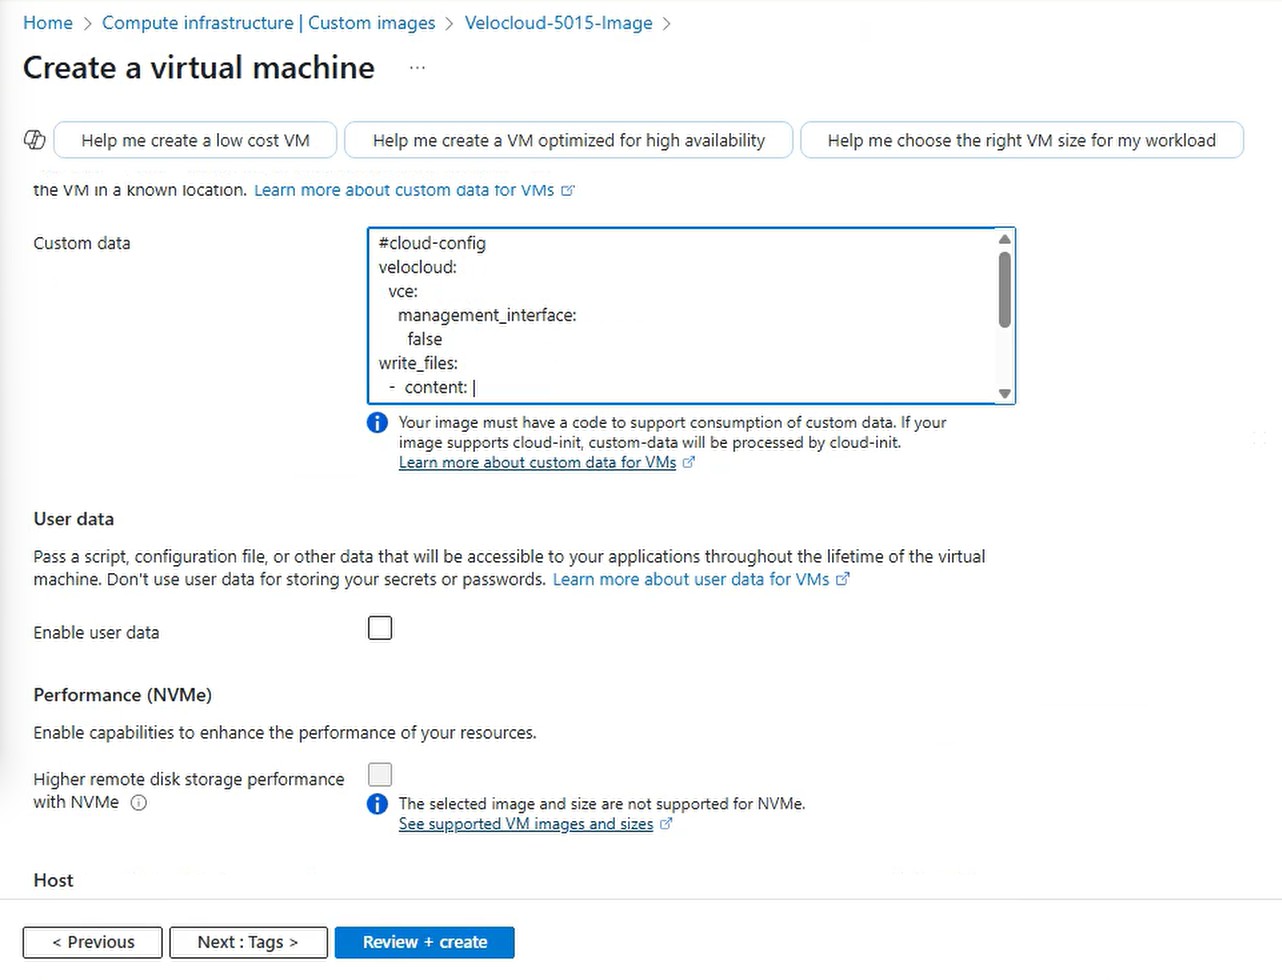
Then click “Next: Management >”. Use default and click “Next: Monitoring >”, again use default and click “Next: Advanced >”. And here we arrive at the “Advanced” tab which is the very important part. There is a Custom data box, which allow us to input the cloud-init data. The following code box is the cloud-init configuration:
#cloud-config
velocloud:
  vce:
    management_interface:
      false
write_files:
  -  content: |
       # User rules for azureuser
       azureuser ALL=(ALL) NOPASSWD:ALL
     owner: root:root
     path: /etc/sudoers.d/azureuser
     permissions: '0644'
There are two configurations and hence two purposes will be achieved. Firstly, line #2 to line #5, which configured the management interface as false. Thus, the first interface will not be acting as a management interface, which means it can be work as a WAN interface. As a result, a 2-ARM deployment is possible by disable the management interface.
Secondly is about line #6 to line #12. These 6 lines write a file called /etc/sudoers.d/azureuser, such that azureuser will be able to sudo. This is a kind of workaround. By default, if the user is using key-based authentication, the user will be put into the sudoer list. But if the user is using password (in this article), the user will not be in the sudoer list. Thus, we use this trick to make the user azureuser use password for authentication but still able to sudo. If we do not use this workaround, none of the user can perform sudo and make the VCE not possible to perform necessary troubleshooting in the shell.

At this point, can click “Review + create”, click the “Create” after Validation passed.
The VM Demo-Azure01 will be created and running like this after the creation: